

Spring Craft Booth Trends That Actually Get Customers to Stop (And What They Mean)
These booth trends are showing up everywhere right now—
and they’re getting people to stop.
But stopping isn’t the same as staying.

These are the booth trends showing up everywhere right now—
soft color, styled displays, and a calm, curated feel.
They’re getting people to stop.
But attention is only the first step.
What’s Getting People to Stop Right Now
Booths are getting attention right now.
You can see it.
People slow down.
They glance over.
They step in just enough to look.
And then—
they move on.
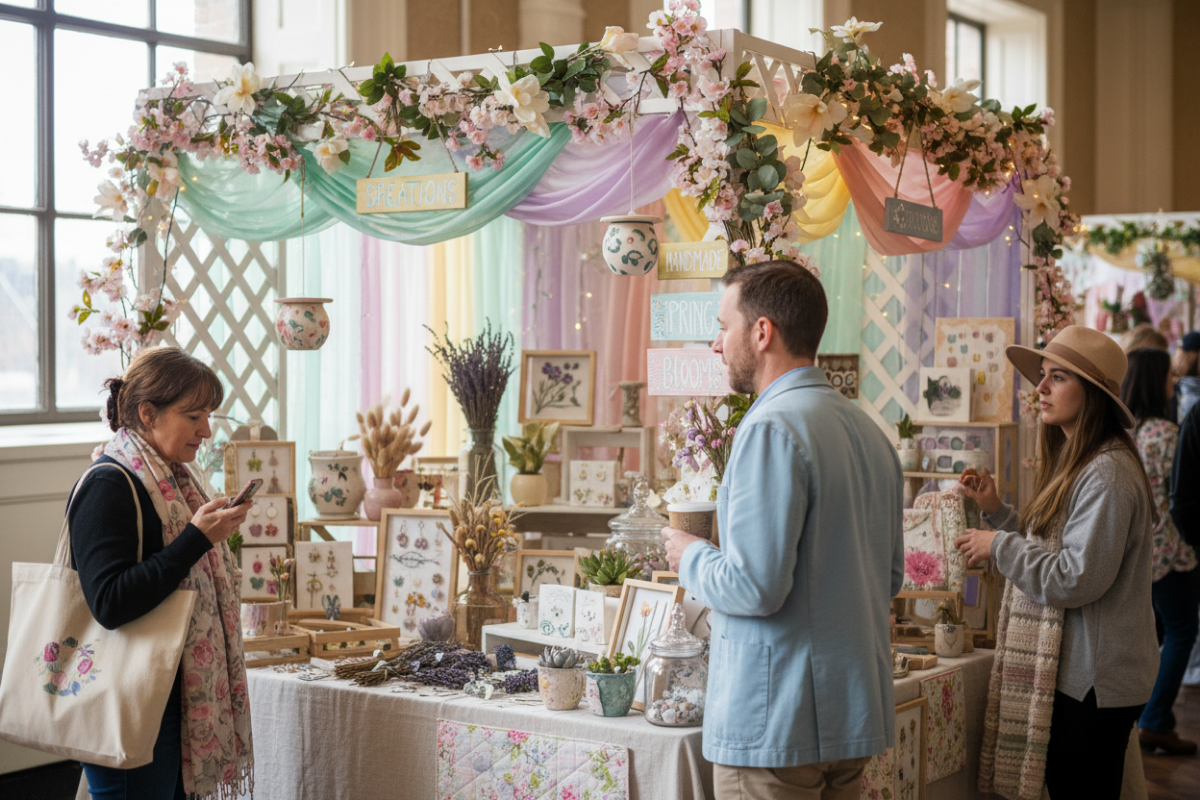
The Patterns Showing Up Across Spring Booths
A few things are showing up again and again this season:
1. Softer, styled displays
Neutral tones. Light woods. Clean layouts that feel calm and curated.
2. Small, easy-to-browse products
Jewelry trays. mini items. grouped pieces that invite a quick look.
3. “Giftable” presentation
Items that feel ready to pick up and give—simple, approachable, low-pressure.
4. Visual cohesion across the booth
Everything matches. Everything feels intentional.
None of this is random.
These are the booths pulling people in.
You’re seeing this across markets.
Booths that feel lighter.
More styled.
Easier to step into.
And they’re working—at least at first.
What These Trends Are Actually Showing
These setups are doing one thing really well:
They make people stop.
They lower resistance.
They feel easy to approach.
They invite a quick look without pressure.
That part is working.
But there’s a gap.
Because stopping isn’t the same as staying.
What This Points To
When attention improves—but buying doesn’t follow—
it starts to point somewhere specific.
Not toward traffic.
Not toward trends.
But toward what happens inside the booth.
These trends are exposing a pattern:
People are entering the moment…
but not continuing through it.
Where This Starts to Feel Familiar
You might be seeing it already.
People pause at the edge of your booth.
They look at a few things.
They react—maybe even smile.
But they don’t go further.
They don’t ask.
They don’t pick anything up.
They don’t shift into shopping.
It feels like interest.
But it doesn’t hold.
If your booth is getting more attention—but not more buying,
this is the pattern to look at next.
A quiet difference between planning and postponing
Planning moves toward a decision.
Postponing circles it.
Planning and postponing can look identical from the outside.
Both involve research. Both involve note-taking. Both involve collecting ideas and thinking things through. The difference isn’t in the activity — it’s in the posture.
Planning moves toward a decision.
Postponing circles it.
I’ve noticed that when makers are planning with intention, there’s usually a sense of narrowing. Options get crossed off. Tradeoffs are acknowledged. Something becomes less possible so something else can become more real.
Postponing does the opposite. It keeps options open “just in case.” It avoids closing doors. It delays the moment where something has to be chosen and lived with.
Neither posture is inherently bad. There are seasons where postponing is protective. But when postponing stretches too long, it starts to feel like being stuck — even though a lot of thinking is happening.
That’s often when people say they’re overwhelmed, or behind, or unsure why nothing feels settled.
Planning doesn’t always feel good. It requires deciding without perfect information. Postponing feels safer — until it doesn’t.
I don’t think the goal is to plan faster.
I think it’s to notice when thinking has stopped moving toward a decision — and gently ask why.
If you’re looking for a calmer way to understand where you are before making decisions, the Foundations path begins here.
Where You Sell Matters More Than You Think
When selling feels harder than it should,
it’s often not your strategy—it’s where you’re selling.
When selling starts to feel heavier than it should, most makers assume they need a new strategy.
Better marketing.
Better photos.
More social media.
A different pricing model.
Sometimes those things help.
But often, the real issue isn’t how you’re selling — it’s where you’re selling.
Your selling environment shapes your energy, your workload, your expectations, and even how successful your business feels. If that environment doesn’t fit your current season, everything can feel harder than it needs to.
This guide is here to help you pause and look at your selling environment before you start changing everything else.
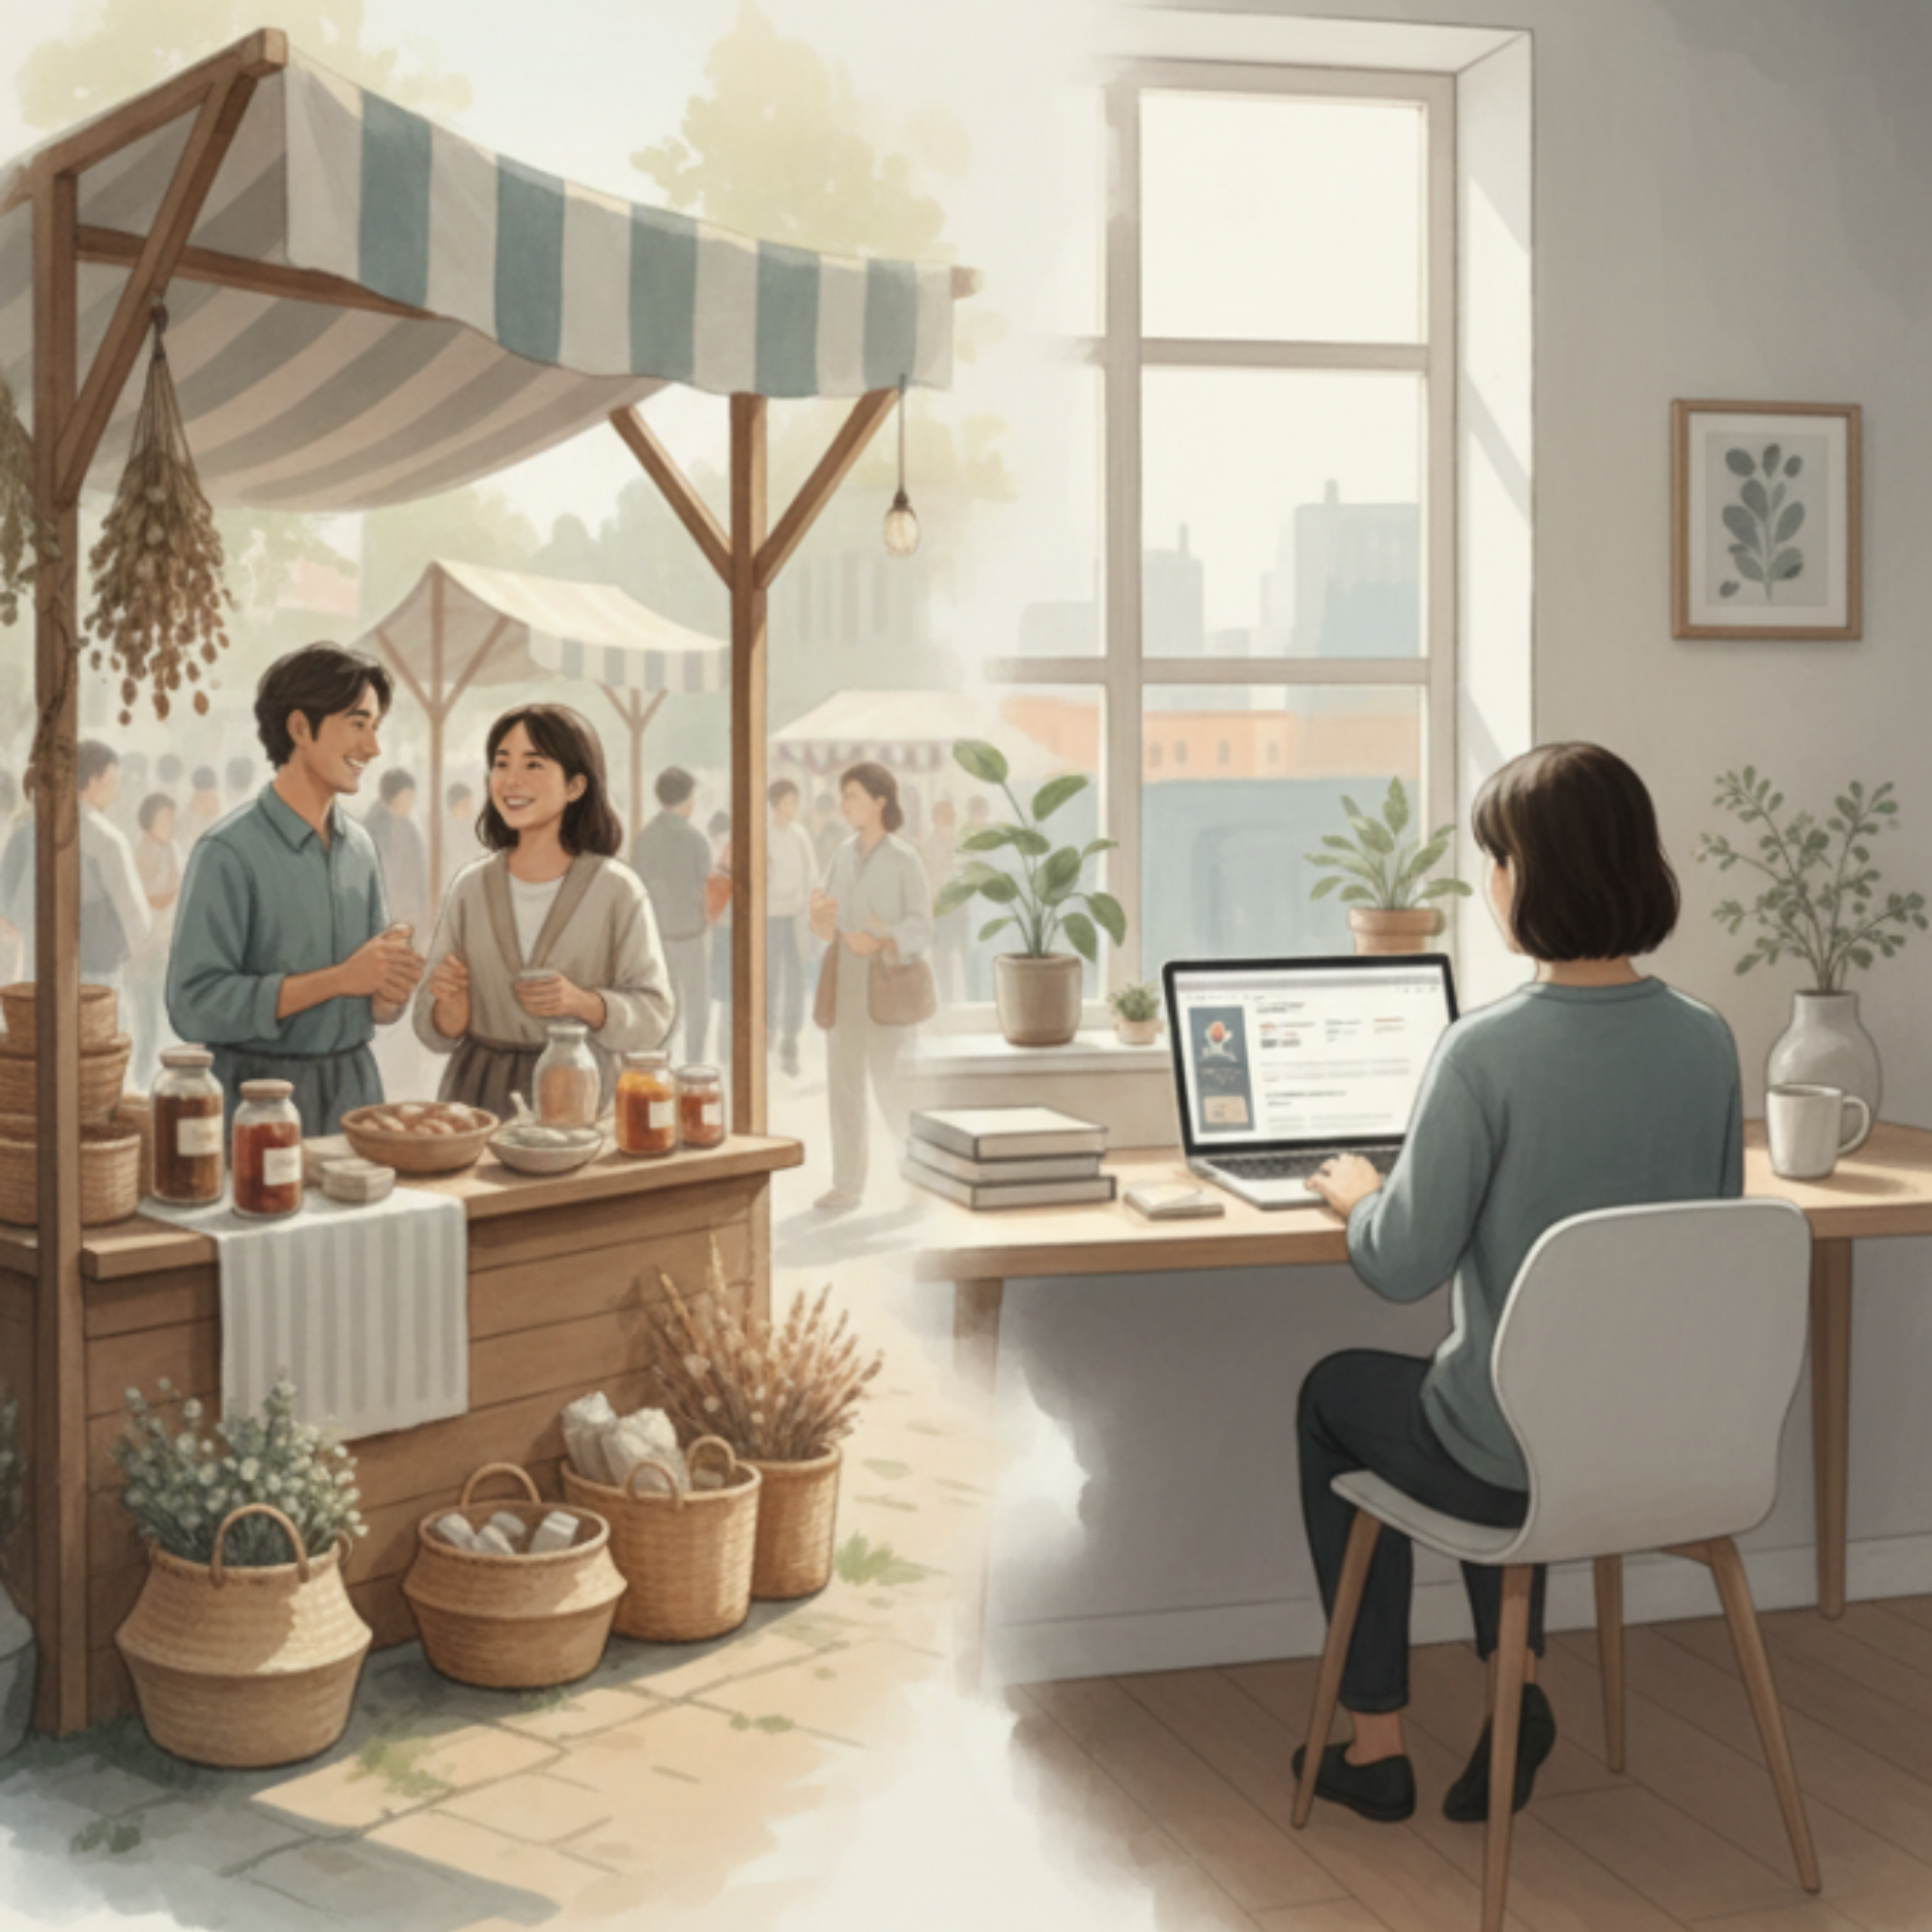
Your Selling Platform Is Not Just a Tool
We often treat platforms like neutral containers — just places to put our products.
But each selling environment comes with its own built-in rhythm, demands, and pressure points.
Selling at craft shows is different from selling online.
Selling on a marketplace is different from selling on your own website.
Selling locally is different from selling nationally or globally.
Each one quietly shapes:
How you spend your time
What kind of preparation is required
How customers discover you
How often you interact with buyers
How much uncertainty you carry day to day
If you’re trying to use strategies designed for one environment while working inside another, things can feel confusing and discouraging very quickly.
Why Things Might Feel Hard Right Now
If you’ve been thinking:
“I should be doing better than this.”
“Other makers make this look easy.”
“Maybe I’m just not cut out for this.”
…it may not be a skill issue.
It may be a fit issue.
For example:
A maker who thrives on face-to-face interaction may feel drained trying to grow through constant online content.
A maker who needs flexibility at home may feel overwhelmed by the physical demands and scheduling of in-person shows.
A maker who prefers slow, steady production may struggle in high-volume online environments.
None of these are personal failures. They are signs that your current selling environment might not match your current capacity, energy, or goals.
There Is No “Best” Place to Sell
One of the most unhelpful questions in the maker world is:
“Where’s the best place to sell handmade products?”
There isn’t one answer.
The “best” place depends on:
Your available time
Your energy level
Your personality
Your life season
Your product type
Your comfort with visibility, travel, or technology
A platform that’s perfect for someone else might be completely wrong for you right now — and that’s okay.
Clarity comes from fit, not trends.
Before You Change Strategies, Check Your Environment
When sales slow down or growth feels stuck, the instinct is to add more:
More posts.
More listings.
More platforms.
More effort.
But adding more inside a misaligned environment usually leads to burnout, not progress.
Instead, try asking:
Does my current selling method match the amount of time I realistically have?
Does it match the kind of interaction I enjoy (in-person vs online)?
Does it support my energy, or drain it?
Am I trying to force a strategy that belongs to a different kind of selling environment?
These questions often bring more clarity than any new marketing tactic.
You’re Allowed to Choose What Fits
You are allowed to:
Sell in fewer places
Focus on one environment for a season
Shift from in-person to online (or the other way around)
Pause growth to regain stability
Change your mind as your life changes
Choosing a selling environment that fits your current reality is not “playing small.”
It’s building a business that can actually be sustained.
Start With Clarity, Not Urgency
If you’ve been feeling pressure to change platforms, add new ones, or completely overhaul your business, this is your reminder:
Pause first.
Look at where you’re selling now.
Notice how it affects your time, energy, and stress.
Let that information guide your next decision.
Clarity leads to better decisions than urgency ever will.
Want help thinking this through?
If you’re second-guessing where you sell, the free Foundations guide may be a helpful place to pause:
It will walk you through how different selling environments shape your experience — so your next decision comes from clarity, not pressure.
Happy Maker Monday 🌿
Connie - Artisan Kraftwerks
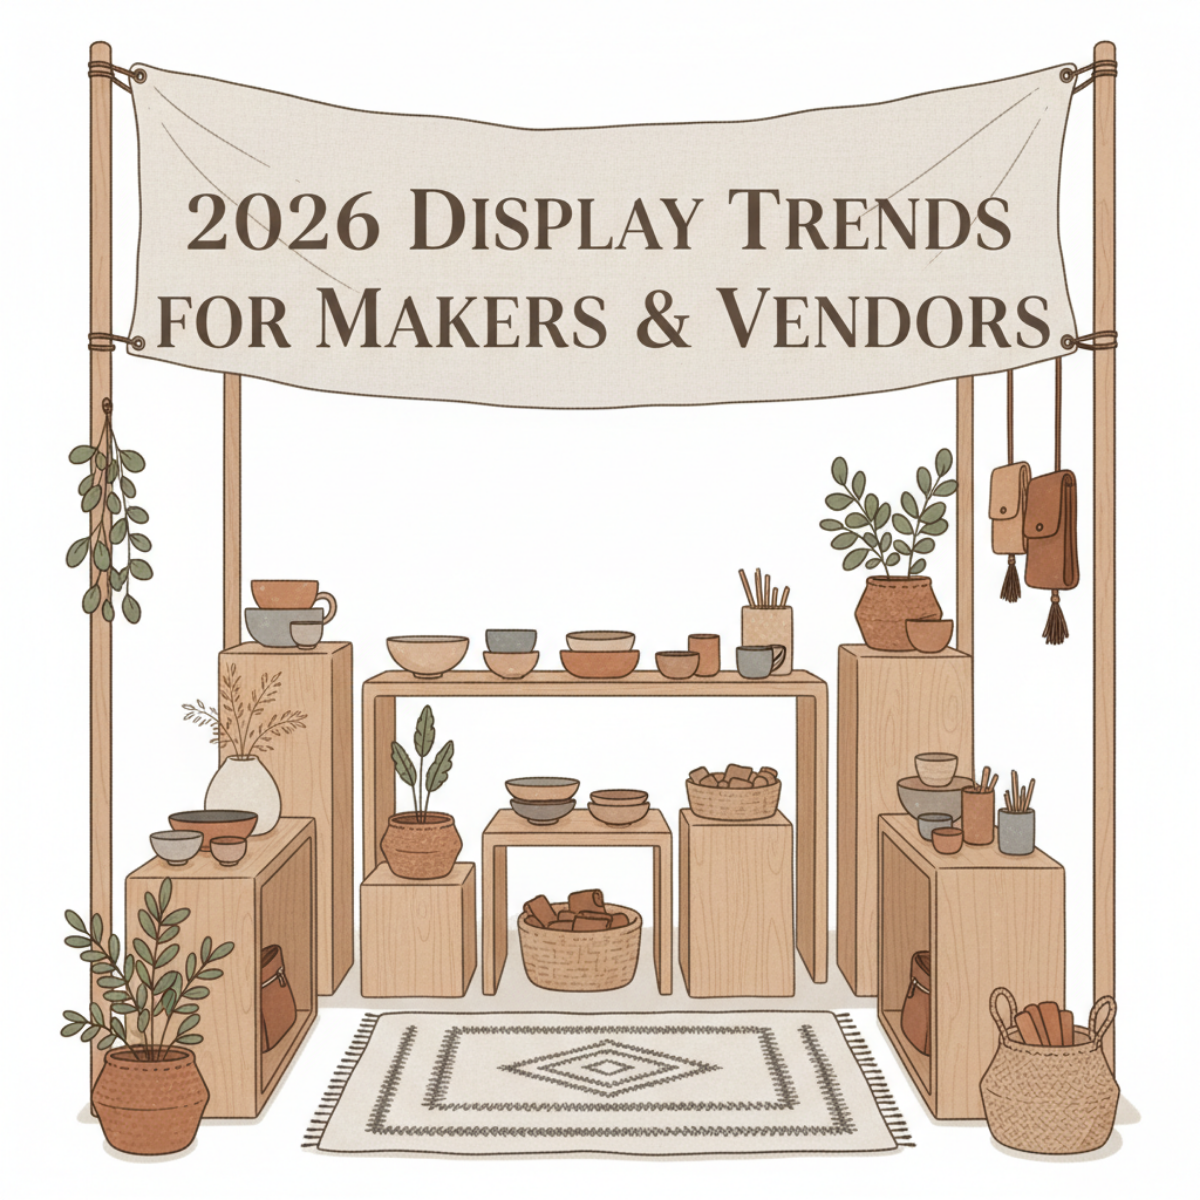
Maker Monday: Top Display Trends for 2026 — What Makers & Vendors Should Embrace Next Year
Most booths don’t feel off by accident.
They’re just not aligned with how customers shop anymore.
Craft booth displays are changing.
But here’s what’s actually happening:
Your booth can follow every trend—
look clean, modern, even “on brand”—
…and still not work.
Not because the trends are wrong.
Because the booth underneath them isn’t doing its job.
The Pattern You’re Seeing
You update your booth.
You simplify it.
Clean it up.
Maybe even lean into that modern artisan look.
And it does look better.
But at the show:
People still walk past
Or slow down… but don’t step in
Or browse briefly… and leave
Nothing really changes.
Not in a way that feels consistent.
What’s Actually Causing It
These trends are real.
They reflect how customers respond visually right now.
But they only work when the structure of the booth supports them.
Here’s where that breaks.
1. Trends Improve Appearance—Not Movement
Sustainability, natural materials, clean displays—
These make your booth more appealing.
But they don’t tell a shopper:
where to start
where to move
what matters first
So the shopper pauses…
…but doesn’t enter.
2. “Curated” Often Becomes Unclear
You remove clutter.
You edit products.
But without a clear structure:
nothing stands out
nothing anchors attention
everything feels equally important
So the shopper scans—
…and keeps moving.
3. Flexible Setups Lose Consistency
Modular systems help you adapt.
But they also introduce variation.
If your layout shifts every show:
entry points move
flow changes
focal areas disappear
So each setup feels slightly different—
and never fully works.
4. The Experience Exists—But Isn’t Directed
You’ve created a feeling:
warm
clean
intentional
But feeling alone doesn’t guide behavior.
Without structure:
shoppers don’t know where to step
don’t know where to look
don’t know how to move
So they stay at the edge.
Why Fixes Don’t Stick
This is the part that creates the loop.
You adjust based on what you see:
simplify more
move products
tweak layout
try another trend
But each change is applied to the surface.
Not the system underneath.
So the result stays the same:
The booth looks better…
but still doesn’t guide the shopper.
The Shift Most Booths Miss
Trends are not the problem.
But they’re also not the solution.
They only work when they sit on top of something that already functions.
What matters first is:
how the shopper enters
how they move
where their attention lands
what holds them there
Without that:
Trends don’t fix the booth.
They just make the problem harder to see.
How to Check Your Booth (Real-World Diagnostics)
You can see this clearly at your next show.
Watch for this:
Entry Check
Do shoppers:
step fully into your booth
or stop at the aisle?
If they don’t step in, the structure isn’t guiding them.
Movement Check
Do shoppers:
move through your booth
or stand in one spot and leave?
If they don’t move, the layout isn’t leading them.
Attention Check
Do shoppers:
pause on something specific
or scan quickly across everything?
If they don’t pause, nothing is anchoring attention.
Exit Check
Do shoppers:
continue browsing
or leave after a few seconds?
If they leave quickly, the booth isn’t holding them.
What This Leads To
At this point, most booths do one of two things:
They either:
keep adjusting trends
or keep tweaking layout randomly
Both feel productive.
Neither changes the outcome.
Because the issue isn’t what you’re adding.
It’s what isn’t working underneath.
Where This Starts to Change
Once you see this clearly:
You stop asking:
“What should I add?”
And start asking:
“Why isn’t this working?”
That’s the point where things actually begin to shift.
Next Step
This is where understanding turns into direction.
→ What to Focus On When Your Booth Looks Good—But Still Doesn’t Work
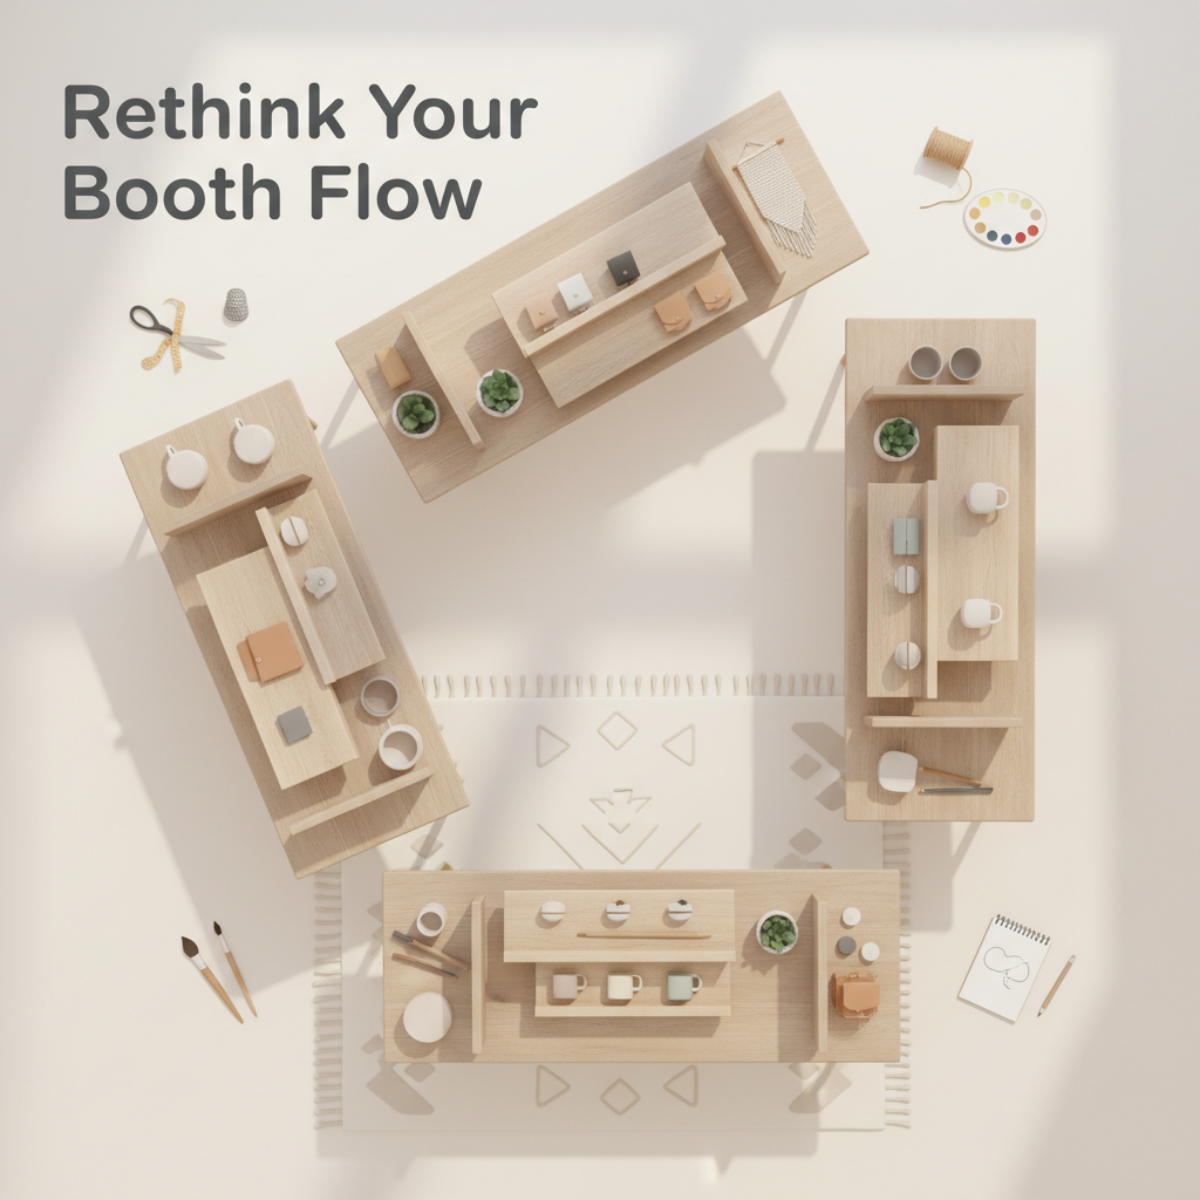
Rethink Your Booth Flow for the New Year — Layout Tweaks That Boost Browsing & Buying
Better booth flow helps shoppers stay longer, explore more, and feel comfortable enough to buy.
A new year means a fresh chance to look at your booth with new eyes. Whether you’re gearing up for early-spring markets, planning a full season of vendor events, or simply refreshing your brand presence, one of the easiest ways to increase sales is to improve your booth flow.
Booth flow is the path people take when they enter, browse, and exit your space. When the flow feels natural, shoppers stay longer, explore more, and feel comfortable enough to buy. When the flow is cramped or confusing, they move on fast.
Today’s Maker Monday is all about simple tweaks that give your display a smooth, intuitive, and shopper-friendly feel—no major overhaul required.
1. Create a Clear Entrance (Even in Small Spaces)
If shoppers can’t tell where to enter, they often won’t.
A defined entry point, even a subtle one, reduces hesitation. Try:
A slight opening between tables or racks
A small sign inviting shoppers in
A visual “pathway” created with crates, risers, or flooring mats
Angling your first display pieces inward instead of straight across
Clarity makes shoppers feel welcomed instead of unsure.
2. Avoid the “Great Wall” Display
Many vendors unintentionally place a long, straight table across the entire front of the booth. This creates a physical and psychological barrier that says, Look from afar, but don’t come in.
Instead:
Angle one or both table ends inward
Break the line with a crate stack, riser, or vertical element
Create a small curve or L-shape
Your booth should feel open—not like a counter where people must talk before they browse.
3. Use Zones to Guide Customer Movement
Zoning helps shoppers naturally move from one part of your booth to another.
You might create zones such as:
Front zone: small impulse items
Middle zone: hero products, best sellers, display stands
Back zone: premium, larger, or higher-margin items
Checkout area: located after browsing, not blocking entry
Zones should flow left to right or right to left depending on how traffic naturally moves at your typical events.
4. Add Vertical Interest (But Not Overwhelm)
Vertical displays lift products into the shopper’s line of sight and increase perceived value—but too much height can make the booth feel tight.
Aim for a balanced mix of:
Eye-level shelving
Mid-height risers
Subtle tall elements placed in corners or back areas
Hanging signage that doesn’t block sightlines
If shoppers can see deeper into the booth, they’re more likely to enter it.
5. Simplify Your Checkout Area
Your checkout should not be the first thing people see.
Instead, your checkout should:
Be placed toward the side or back
Stay clean and uncluttered
Have easy access to bags, tissue, and business cards
Be positioned so you can greet people without blocking flow
A clean checkout signals professionalism and makes transactions smoother.
6. Remove at Least 10% of Your Display Items
Every vendor adds “just one more thing”… until the booth feels crowded.
Challenge yourself to subtract instead of add. Remove:
Duplicate product styles
Props that don’t support your brand
Any display piece that takes visual space without helping sales
Your best products stand out more when there’s breathing room.
7. Test Your New Layout Before Show Day
Set up your booth at home or in your garage. Then:
Walk into it as if you’re a shopper
Ask a friend or family member to walk through it
Notice where your eye goes first
Identify crowded or confusing areas
Time how long it takes to browse everything
If it feels easy, even relaxing, your shoppers will feel the same way.
Plan Your Next Step
If you want to apply these layout tweaks to your own booth, the Craft Booth Display Planning Worksheet walks you through planning product zones, traffic flow, and display placement step by step — before you ever load the truck.
Final Thoughts
A great booth flow doesn’t happen by accident—it’s intentional. With a few thoughtful tweaks, you can make your space feel bigger, more inviting, and more profitable.
Here’s to a fresh new year of confident selling, better layouts, and more customers who walk into your booth and feel at home.
Happy Maker Monday 🌿
Connie - Artisan Kraftwerks
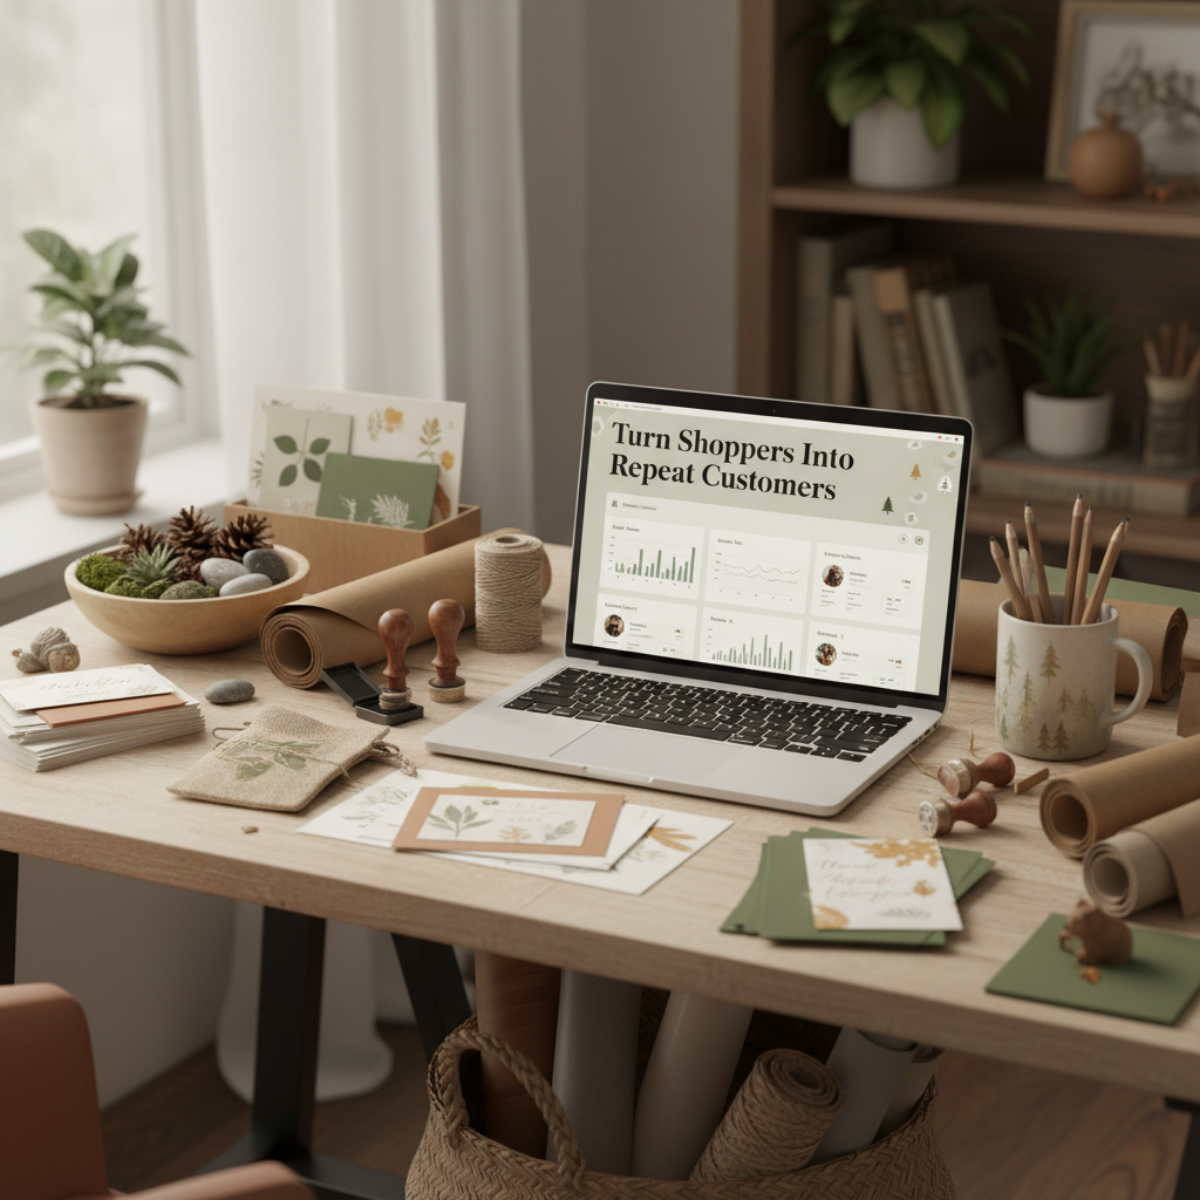
Turn Shoppers Into Repeat Customers — Follow-Up Systems That Keep Them Coming Back
The real value of a sale isn’t just the purchase.
It’s the customer who comes back.
You’ve built an amazing product display or craft show booth. Your products are incredible. Shoppers stopped, browsed, and maybe even bought. But here’s the truth:
The real power of a craft show or product display isn’t just the sales you make that day — it’s the customers you bring with you into the future.
Makers who consistently grow their business don’t rely only on the next event…
They build ongoing relationships with customers who already said yes once.
Today’s Maker Monday will show you how to confidently capture and nurture those leads — without feeling salesy.
Step 1: Make It Easy for Shoppers to Stay Connected
During winter markets especially, shoppers buy for others. They don’t always remember the booth or store they intended to visit later.
To stay top-of-mind, give them:
A clear QR code sign near checkout linking to:
Your website
Your email signup page
Your most active social platform
Bag inserts with a quick “Connect with us” message
Thank-you stickers including your handle
Pro Tip:
Place a QR code where they wait to check out. People love something to do in line.
Step 2: Collect Emails Like Your Business Depends on It
Because it does. 😄
Your email list:
✔ isn’t controlled by an algorithm
✔ isn’t limited to local shoppers
✔ works year-round — even between events
Try an email sign-up incentive like:
10% off their next purchase
Entry into a monthly product giveaway
Exclusive access to seasonal launches
Make it feel like a VIP club — not spam.
Step 3: Follow Up — Quickly & Personally
You want to follow up while the memory of your brand is still warm and cozy.
Use a simple 3-part post-show follow-up:
📅 24–48 hours → “Thank you for supporting handmade!”
📅 1 week later → “Here’s a perk just for you…”
📅 1 month later → “New products, next shows, behind the scenes”
Short. Friendly. Valuable.
Not a single “Hey buy from me!” required.
Step 4: Track Leads Like a Real Business Owner
A mini-CRM (Customer Relationship Manager) doesn’t have to be complicated.
Recommended maker-friendly systems:
Flodesk - Best for Email newcomers
Why? Beautiful visuals + easy automations
MailerLite - Best for Startups
Why? Robust features + inexpensive
HubSpot Free - Best for Customer tracking
Why? CRM database + great notes system
Google Sheets - Best for Simplicity lovers
Why? Quick tracking + customizable
Track key notes:
What they bought
What they loved
Any personalization preferences
Whether they subscribed or followed
Those insights guide future product decisions.
Step 5: Support Their Experience Beyond the Purchase
Follow-up success is rooted in connection, not constant selling.
Types of nurture content that convert well:
✨ Care tips for your product
✨ Styling or display ideas
✨ Seasonal craft booth sneak peeks
✨ Restock alerts and preorders
✨ Storytelling about your process
Every message says: “I see you… and I made this for you.”
That’s what builds loyalty — and repeat buyers.
Putting This Into Practice
Strong follow-up systems start with a booth layout that naturally guides shoppers where you want them to go. If you want to plan a booth that supports browsing, conversation, and easy next steps, the Craft Booth Display Planning Worksheet helps you think it through in advance.
Final Thoughts
You Earned That Customer — Keep Them
Shoppers are real humans who saw your work, felt drawn to it, and decided to bring it home.
Follow-up lets that relationship continue long after the market bags are packed away.
You create connection.
Connection brings them back.
And returning customers build sustainable maker businesses.
Happy Maker Monday 🌿
Connie - Artisan Kraftwerks

How to Tell a Brand Story That Sells: A Maker & Shop Owner Guide (with Free Worksheet)
Your brand story isn’t just about what you sell.
It’s what helps customers connect—and choose you.
Welcome back to Maker Monday, where we share resources that help makers, small shop owners, and craft booth vendors grow stronger, more confident creative businesses.
Today’s topic is one every successful brand—big or small—masters early:
your brand story.
A strong brand story does more than describe what you sell.
It shows your customers who you are, why your work matters, and why buying from a real maker feels different.
This guide breaks down how to write a brand story that resonates, inspires, and sells—and you’ll get a free fill-in-the-blank worksheet to make the process simple, actionable, and fun.
If you want to attract more customers, increase sales, and build a memorable brand, your brand story is one of the most powerful marketing tools you have. Whether you’re a DIY maker, craft seller, or boutique shop owner, sharing the heart behind your business helps shoppers connect, trust, and buy from you.
In a world full of mass-produced products, your story is what sets you apart. And when you tell it well, it doesn’t just inspire — it sells.
✅ Why a Strong Brand Story Helps You Sell More
A great brand story helps:
Build emotional connection with customers
Increase brand loyalty and repeat buyers
Communicate your values and what makes your products unique
Boost conversions online, at craft fairs, and in retail shops
People don’t just buy a product — they buy the meaning behind it.
Your brand story turns shoppers into supporters and customers into superfans.
✨ The 5 Key Elements of a Story That Sells
You don’t need a dramatic “origin story” to stand out — just authenticity and clarity. Use these 5 elements to shape a story that resonates and supports your marketing strategy.
1. Your “Why” (Foundational Purpose)
Why did you start making, curating, or selling your products?
This is the heart of what makes your brand human and relatable.
Examples:
“I wanted to create meaningful, handcrafted gifts with a personal touch.”
“I opened my shop to support local makers and offer customers high-quality artisan goods.”
2. Your Inspiration (Creative Spark)
What influences your product designs, collections, or shop curation?
Think: nature, heritage, sustainability, storytelling, cozy living, tradition, etc.
3. Your Process or Values (Proof of Quality)
This builds trust and gives customers a reason to choose you.
Highlight things like:
Handmade or small-batch craftsmanship
Eco-friendly sourcing or packaging
Artisanal or fair-trade partnerships
Specialty tools or skilled techniques
Customers love knowing what makes your products special.
4. The Transformation (Customer Benefit)
Explain how your products improve the customer’s life, mood, or experience.
Examples:
“My designs help you create a cozy, collected home that tells your story.”
“Shopping small means your gifts come with meaning, intention, and heart.”
5. Their Role in Your Mission (Inclusive Connection)
Invite customers to be part of something bigger.
Try phrases like:
“Thank you for supporting handmade.”
“When you shop small, you help preserve creativity, craftsmanship, and community.”
📍 Where to Use Your Brand Story for Maximum Impact
Your brand story shouldn’t live only on your “About” page — use it everywhere customers interact with your brand:
Where to Use It | Why It Works
Website About Page Builds trust + connection
Craft Booth Signage Engages browsers instantly
Product Tags & Packaging Adds perceived value
Social Media Bio & Posts humanizes your brand
Welcome Email / Newsletter Creates loyal followers
Shop Displays or Windows Enhances retail experience
Staff Talking Points Keeps brand voice consistent
Pro Tip: Create a full version (3–5 paragraphs) and a mini version (2–3 sentences) so you can plug it into different marketing touchpoints.
🧩 Plug-and-Play Brand Story Template for Makers & Shop Owners
Use this template to quickly draft your brand story:
I started [business name] because ____________.
I’m inspired by ____________.
I create/curate ____________ using/with ____________.
My mission is ____________.
When you support [business name], you’re ____________.
Want help writing this? I’m happy to review your draft and polish it to perfection.
✍️ Free Download: Brand Story Worksheet for Makers & Shop Owners
To make this even easier, I created a fill-in-the-blank worksheet you can print and use to build your brand story step-by-step.
Download your worksheet here:
Download the Brand Story Worksheet (Printable pdf)
🌱 Your Brand Story Will Grow With You
Don’t overthink it or wait until you “feel ready.” Your story is allowed to evolve as your business grows. The magic happens when you share it — not when you perfect it.
The more customers know about your mission, values, inspiration, and heart, the more they’ll want to support you.
Happy Maker Monday 🌿
Connie - Artisan Kraftwerks

10 Craft Booth Hacks to Boost Sales During the Winter Market Season
A few smart booth tweaks can improve flow, visibility, and sales—especially during busy winter markets.
Indoor markets and cozy community events make winter one of the most exciting seasons for craft vendors. But tight spaces, fluctuating foot traffic, and fast-paced restocking can make booth setup challenging.
Here are ten clever hacks to help you maximize visibility, improve customer flow, and keep your setup stress-free all season long.
1. Create Height With Natural Wood Display Risers
Elevated displays instantly make products feel more premium. Rustic cedar blocks, wooden risers, and tiered stands are lightweight, durable, and perfect for winter merchandising.
2. Pack a “Warm Weather Emergency Kit”
Include tape, zip ties, scissors, mini screwdriver, extra price tags, batteries, lint roller, and a microfiber cloth. Winter booths need frequent touch-ups—temperature changes affect everything from signage to adhesives.
3. Use Soft, Neutral Textiles
Creams, greys, and natural textures make your products pop without feeling seasonal. Soft backdrops also absorb sound and help create a welcoming atmosphere.
4. Add One High-Impact Anchor Piece
Whether it's a tall wooden tree display, a large sign, or a signature product wall, one eye-catching feature draws customers in—especially when vendor aisles feel crowded.
5. Keep Checkout Quick & Cozy
Create a warm “finish zone” with a clean bagging space, ready-to-go tissue, and low-profile packaging. Customers appreciate fast, smooth checkout during busy winter markets.
6. Use Clip Lights or Warm LEDs
Winter markets can have dim lighting. Bring your own warm-toned lights to highlight details without creating glare.
7. Offer an On-the-Spot Bundle Deal
Bundles boost sales and help move inventory. Keep signage simple:
“Build Your Own Set” or “Any 3 for 20% Off.”
8. Bring Quiet Entertainment for Kids
A simple wooden puzzle or coloring card lets parents browse longer—and that often means more sales.
9. Stage Your Booth Like a Mini Shop
Display in small vignettes:
• entry display
• featured product table
• small impulse-buy zone
This guides customers naturally and increases engagement.
10. Pre-Pack Restock Bags
Before the event, load small bags labeled by item category. When you sell out, you can restock in seconds—no digging in bins.
A great booth doesn’t have to be complicated. A few smart hacks turn your winter craft market setup into a welcoming, polished, and profitable experience.