

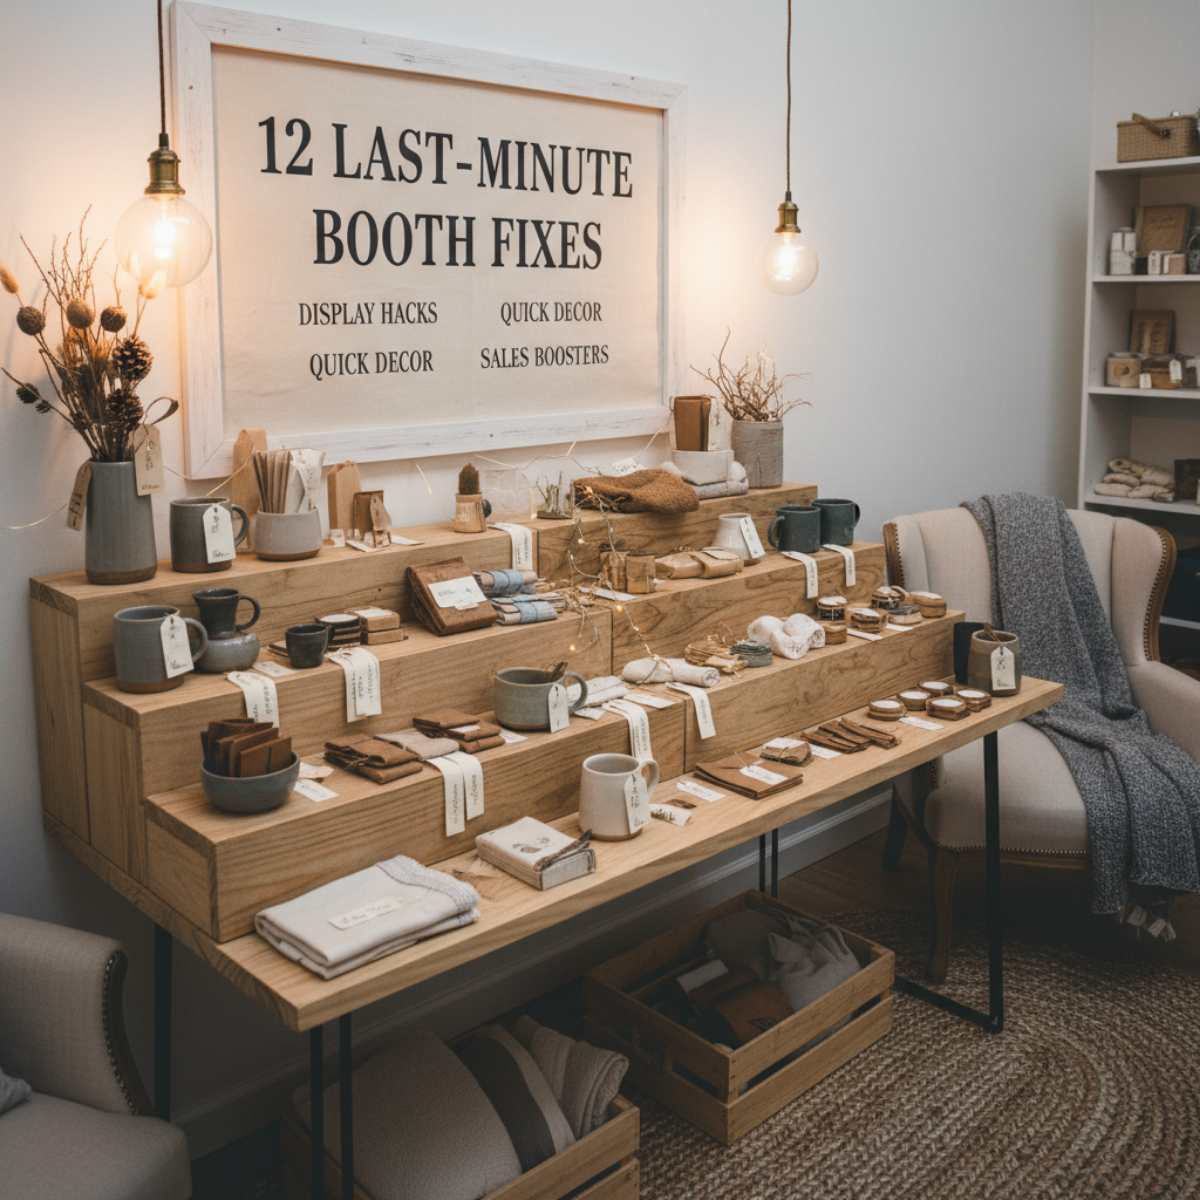
Maker Monday: 12 Last-Minute Craft Booth Fixes Every Winter Market Vendor Should Know
When you’re in the middle of the winter market rush, tiny problems can snowball—display gaps, low lighting, missing signage, or products that need a little extra polish.
This Maker Monday guide shares quick and effective craft booth fixes you can apply same-day to keep your setup looking sharp, intentional, and customer-ready.
Perfect for busy makers who need solutions that work fast.
The winter craft market season is busy, fast-paced, and full of surprises. Displays shift, signage falls, crowds move differently than expected, and suddenly you’re adjusting your entire booth in the middle of a live show. Every experienced maker has lived through those moments — and learned to improvise like a pro.
Today’s Maker Monday guide is all about quick, effective last-minute craft booth fixes that help you stay polished and profitable during the final stretch of the year.
1. Turn a Slow Table Into a Sales Magnet
If one of your tables isn’t getting attention, rearrange your display vertically. Shoppers are drawn to height — especially in a crowded winter market where visibility matters. A crate flipped upright or a riser added under a tablecloth can instantly transform eye level and draw foot traffic.
Quick Fix: Group bestsellers in odd-number clusters (3, 5, 7) and elevate the center item.
2. Replace Missing or Damaged Tags With a Single “All Prices Listed Here” Sign
When you’re too busy to reprint individual tags, use one clean, clear price sign per category. It saves time, reduces clutter, and makes checkout faster.
Fast Sign Formula:
Product Name → Price → Short Feature
Example:
Handcrafted Cedar Trees — $18 ea — Solid rustic cedar, perfect for winter displays.
3. Fix Low Lighting With Everyday Items
Winter markets often have dim lighting. If your booth looks shadowy, elevate battery-powered puck lights, fairy lights, or clip-on LEDs using a crate or even your tote bin (hidden under a cloth). The moment your products are well-lit, your booth feels warmer and more inviting.
4. Use a “Bundle & Save” Sign to Increase Your AOV
Bundles sell especially well in winter when customers shop for multiple recipients at once. If sales feel slow, introduce a simple bundle like:
Buy 2, Get 10% Off
Any 3 for $25
Build-Your-Own Gift Set
This is one of the fastest ways to increase sales without adding new inventory.
5. Re-Engage Shoppers With a Quick “Story Prop”
If your booth feels flat, add one prop that tells your brand’s story — a tool you use, a raw material sample, a sketch, or a behind-the-scenes photo. Winter shoppers connect emotionally with authenticity and craftsmanship.
6. Use Your Bags as Walking Advertisements
If your bags are plain, quickly attach a thank-you sticker with your social handle or website. When shoppers walk around the market, they become moving billboards.
7. If Crowds Move the Wrong Way, Flip Your Layout
Winter events often pack visitors in tight lines. If your booth experiences bottlenecks, simply rotate one table or open one side to improve flow. This one-minute change can double the number of people entering your booth.
Final Thoughts
Your booth doesn’t have to be perfect. It just needs to be clear, inviting, and optimized for the unique energy of winter shoppers. With these quick fixes, you’ll be ready for anything the season throws at you.

Maker Monday: How to Tell a Brand Story That Sells: A Maker & Shop Owner Guide (with Free Worksheet)
Welcome back to Maker Monday, where we share resources that help makers, small shop owners, and craft booth vendors grow stronger, more confident creative businesses.
Today’s topic is one every successful brand—big or small—masters early:
your brand story.
A strong brand story does more than describe what you sell.
It shows . . .
Welcome back to Maker Monday, where we share resources that help makers, small shop owners, and craft booth vendors grow stronger, more confident creative businesses.
Today’s topic is one every successful brand—big or small—masters early:
your brand story.
A strong brand story does more than describe what you sell.
It shows your customers who you are, why your work matters, and why buying from a real maker feels different.
This guide breaks down how to write a brand story that resonates, inspires, and sells—and you’ll get a free fill-in-the-blank worksheet to make the process simple, actionable, and fun.
If you want to attract more customers, increase sales, and build a memorable brand, your brand story is one of the most powerful marketing tools you have. Whether you’re a DIY maker, craft seller, or boutique shop owner, sharing the heart behind your business helps shoppers connect, trust, and buy from you.
In a world full of mass-produced products, your story is what sets you apart. And when you tell it well, it doesn’t just inspire — it sells.
✅ Why a Strong Brand Story Helps You Sell More
A great brand story helps:
Build emotional connection with customers
Increase brand loyalty and repeat buyers
Communicate your values and what makes your products unique
Boost conversions online, at craft fairs, and in retail shops
People don’t just buy a product — they buy the meaning behind it.
Your brand story turns shoppers into supporters and customers into superfans.
✨ The 5 Key Elements of a Story That Sells
You don’t need a dramatic “origin story” to stand out — just authenticity and clarity. Use these 5 elements to shape a story that resonates and supports your marketing strategy.
1. Your “Why” (Foundational Purpose)
Why did you start making, curating, or selling your products?
This is the heart of what makes your brand human and relatable.
Examples:
“I wanted to create meaningful, handcrafted gifts with a personal touch.”
“I opened my shop to support local makers and offer customers high-quality artisan goods.”
2. Your Inspiration (Creative Spark)
What influences your product designs, collections, or shop curation?
Think: nature, heritage, sustainability, storytelling, cozy living, tradition, etc.
3. Your Process or Values (Proof of Quality)
This builds trust and gives customers a reason to choose you.
Highlight things like:
Handmade or small-batch craftsmanship
Eco-friendly sourcing or packaging
Artisanal or fair-trade partnerships
Specialty tools or skilled techniques
Customers love knowing what makes your products special.
4. The Transformation (Customer Benefit)
Explain how your products improve the customer’s life, mood, or experience.
Examples:
“My designs help you create a cozy, collected home that tells your story.”
“Shopping small means your gifts come with meaning, intention, and heart.”
5. Their Role in Your Mission (Inclusive Connection)
Invite customers to be part of something bigger.
Try phrases like:
“Thank you for supporting handmade.”
“When you shop small, you help preserve creativity, craftsmanship, and community.”
📍 Where to Use Your Brand Story for Maximum Impact
Your brand story shouldn’t live only on your “About” page — use it everywhere customers interact with your brand:
Where to Use It | Why It Works
Website About Page Builds trust + connection
Craft Booth Signage Engages browsers instantly
Product Tags & Packaging Adds perceived value
Social Media Bio & Posts humanizes your brand
Welcome Email / Newsletter Creates loyal followers
Shop Displays or Windows Enhances retail experience
Staff Talking Points Keeps brand voice consistent
Pro Tip: Create a full version (3–5 paragraphs) and a mini version (2–3 sentences) so you can plug it into different marketing touchpoints.
🧩 Plug-and-Play Brand Story Template for Makers & Shop Owners
Use this template to quickly draft your brand story:
I started [business name] because ____________.
I’m inspired by ____________.
I create/curate ____________ using/with ____________.
My mission is ____________.
When you support [business name], you’re ____________.
Want help writing this? I’m happy to review your draft and polish it to perfection.
✍️ Free Download: Brand Story Worksheet for Makers & Shop Owners
To make this even easier, I created a fill-in-the-blank worksheet you can print and use to build your brand story step-by-step.
Download your worksheet here:
Download the Brand Story Worksheet (Printable pdf)
🌱 Your Brand Story Will Grow With You
Don’t overthink it or wait until you “feel ready.” Your story is allowed to evolve as your business grows. The magic happens when you share it — not when you perfect it.
The more customers know about your mission, values, inspiration, and heart, the more they’ll want to support you.

Maker Monday: 10 Craft Booth Hacks to Boost Sales During the Winter Market Season
Indoor markets and cozy community events make winter one of the most exciting seasons for craft vendors. But tight spaces, fluctuating foot traffic, and fast-paced restocking can make booth setup challenging.
Here are ten clever hacks to help you maximize visibility, improve customer flow, and keep your setup stress-free all season long.
1. Create Height With Natural Wood Display Risers
Elevated displays instantly make products feel more premium. Rustic cedar blocks, wooden risers, and tiered stands are lightweight, durable, and perfect for winter merchandising.
2. Pack a “Warm Weather Emergency Kit”
Include tape, zip ties, scissors, mini screwdriver, extra price tags, batteries, lint roller, and a microfiber cloth. Winter booths need frequent touch-ups—temperature changes affect everything from signage to adhesives.
3. Use Soft, Neutral Textiles
Creams, greys, and natural textures make your products pop without feeling seasonal. Soft backdrops also absorb sound and help create a welcoming atmosphere.
4. Add One High-Impact Anchor Piece
Whether it's a tall wooden tree display, a large sign, or a signature product wall, one eye-catching feature draws customers in—especially when vendor aisles feel crowded.
5. Keep Checkout Quick & Cozy
Create a warm “finish zone” with a clean bagging space, ready-to-go tissue, and low-profile packaging. Customers appreciate fast, smooth checkout during busy winter markets.
6. Use Clip Lights or Warm LEDs
Winter markets can have dim lighting. Bring your own warm-toned lights to highlight details without creating glare.
7. Offer an On-the-Spot Bundle Deal
Bundles boost sales and help move inventory. Keep signage simple:
“Build Your Own Set” or “Any 3 for 20% Off.”
8. Bring Quiet Entertainment for Kids
A simple wooden puzzle or coloring card lets parents browse longer—and that often means more sales.
9. Stage Your Booth Like a Mini Shop
Display in small vignettes:
• entry display
• featured product table
• small impulse-buy zone
This guides customers naturally and increases engagement.
10. Pre-Pack Restock Bags
Before the event, load small bags labeled by item category. When you sell out, you can restock in seconds—no digging in bins.
A great booth doesn’t have to be complicated. A few smart hacks turn your winter craft market setup into a welcoming, polished, and profitable experience.

Maker Monday: 7 Winter-Ready Tips for Small Shop Success This Season
As temperatures drop, makers and small shop owners know one thing for sure—this is the season when preparation meets opportunity. Whether you’re setting up at indoor markets, fulfilling online orders, or organizing backstock for the busiest craft months, winter brings unique challenges and incredible revenue potential.
Here are seven maker-approved strategies to help your small shop thrive—while keeping your workflow warm and organized all season long.
1. Simplify Your Bestsellers
Your top sellers should be easy to grab, pack, and restock. Create a dedicated “bestseller assembly zone” in your workspace to streamline production and reduce last-minute stress.
2. Focus on Cozy, Natural Textures
Customers naturally gravitate toward warm woods, textured materials, and practical, giftable goods this time of year. Consider elevating your product photos or booth styling using seasonal natural materials—think cedar, pine, kraft paper, or soft neutrals.
3. Prepare Winter-Friendly Packaging
Cold weather can be rough on adhesives, finishes, and fragile items. Use sturdy boxes, padded envelopes, and crinkle paper—not only for protection but for a warm, handcrafted unboxing experience.
4. Offer “Small But Mighty” Add-On Items
Low-cost, quick-to-buy accessories can increase your average order value. Think ornaments, tags, small wooden blanks, mini display risers, or craft-ready embellishments.
5. Optimize Your Online Listings
Freshen up listing images, update titles and tags, and highlight any “fast ship” or “ready to deliver” products. Clear photos and accurate processing times go a long way during the busy season.
6. Lean Into Storytelling
Shoppers love knowing who made their purchase. Share behind-the-scenes snippets—your workspace, tools, maker process, or your inspiration for certain designs.
7. Track What’s Working… and What Isn’t
Keep a seasonal notebook or digital tracker. Jot down booth layouts that sold well, products customers asked for, or restocking gaps. This becomes gold for next year’s planning.
A productive winter is all about preparation, smart selling, and creating an inviting experience for your customers—online and in person. With the right steps, your small shop can shine brighter than ever.

Maker Monday: How to Display Products Like a Pro: 6 Common Mistakes (and Easy Fixes) for Craft Shows, Pop-Ups & Retail Shops
Whether you’re a craft show vendor, boutique owner, or handmade maker, the way you present your products can make or break a sale. Your display is more than just a setup — it’s your silent salesperson. A well-arranged booth or shelf draws people in, tells your brand story, and encourages customers to linger (and buy!).
Why Display Matters for Small Businesses
Whether you’re a craft show vendor, boutique owner, or handmade maker, the way you present your products can make or break a sale. Your display is more than just a setup — it’s your silent salesperson. A well-arranged booth or shelf draws people in, tells your brand story, and encourages customers to linger (and buy!).
Mistake #1: The “Flat Table” Layout
Problem: Everything’s lying flat, forcing customers to lean in and scan through a sea of items.
Fix: Use tiered shelves, wooden crates, or risers to add height and dimension. Your goal is to bring products to eye level and create visual interest.
Mistake #2: Overcrowding Your Space
Problem: Too much stuff crammed together overwhelms the eye.
Fix: Give products breathing room. Space communicates quality and makes it easier for shoppers to focus on each item.
Mistake #3: No Clear Signage
Problem: No prices or product details leaves customers unsure (and less likely to ask).
Fix: Add attractive, branded signage with prices, short descriptions, and your logo. Chalkboards, acrylic stands, and printed tags all work beautifully.
Mistake #4: Poor Lighting
Problem: Dim lighting hides product details and colors.
Fix: Use portable LED spotlights or clip-on lights with a warm glow. Proper lighting can instantly make your booth or shop display look more professional.
Mistake #5: No Brand Personality
Problem: A generic display blends in with everyone else.
Fix: Add brand colors, textures, and props that reflect your business. If your brand is rustic, use reclaimed wood and natural fabrics. If it’s modern, go with clean lines and sleek signage.
Mistake #6: Forgetting Customer Flow
Problem: Customers can’t easily navigate your space.
Fix: Arrange products so there’s a clear path to browse. Place best sellers at eye level and near the front, with smaller or add-on items toward checkout.
Final Tip for Makers & Small Shop Owners
Your display is part of your marketing. Treat it like a visual invitation to connect with your products and your story. Invest a little time in presentation, and you’ll see it pay off in more sales and happier customers.