

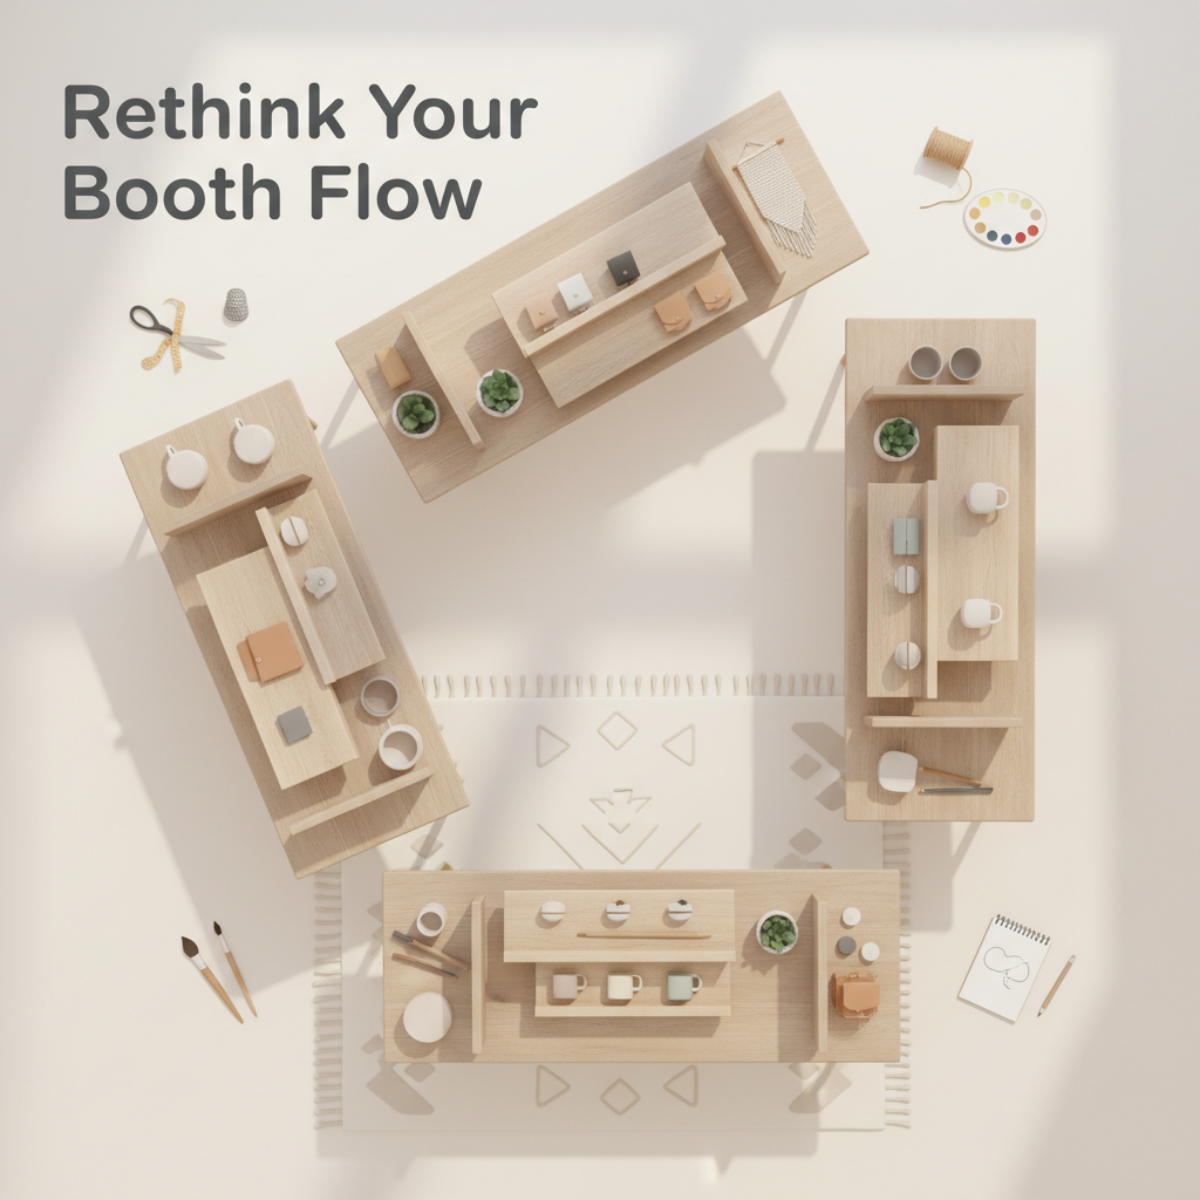
Rethink Your Booth Flow for the New Year — Layout Tweaks That Boost Browsing & Buying
Better booth flow helps shoppers stay longer, explore more, and feel comfortable enough to buy.
A new year means a fresh chance to look at your booth with new eyes. Whether you’re gearing up for early-spring markets, planning a full season of vendor events, or simply refreshing your brand presence, one of the easiest ways to increase sales is to improve your booth flow.
Booth flow is the path people take when they enter, browse, and exit your space. When the flow feels natural, shoppers stay longer, explore more, and feel comfortable enough to buy. When the flow is cramped or confusing, they move on fast.
Today’s Maker Monday is all about simple tweaks that give your display a smooth, intuitive, and shopper-friendly feel—no major overhaul required.
1. Create a Clear Entrance (Even in Small Spaces)
If shoppers can’t tell where to enter, they often won’t.
A defined entry point, even a subtle one, reduces hesitation. Try:
A slight opening between tables or racks
A small sign inviting shoppers in
A visual “pathway” created with crates, risers, or flooring mats
Angling your first display pieces inward instead of straight across
Clarity makes shoppers feel welcomed instead of unsure.
2. Avoid the “Great Wall” Display
Many vendors unintentionally place a long, straight table across the entire front of the booth. This creates a physical and psychological barrier that says, Look from afar, but don’t come in.
Instead:
Angle one or both table ends inward
Break the line with a crate stack, riser, or vertical element
Create a small curve or L-shape
Your booth should feel open—not like a counter where people must talk before they browse.
3. Use Zones to Guide Customer Movement
Zoning helps shoppers naturally move from one part of your booth to another.
You might create zones such as:
Front zone: small impulse items
Middle zone: hero products, best sellers, display stands
Back zone: premium, larger, or higher-margin items
Checkout area: located after browsing, not blocking entry
Zones should flow left to right or right to left depending on how traffic naturally moves at your typical events.
4. Add Vertical Interest (But Not Overwhelm)
Vertical displays lift products into the shopper’s line of sight and increase perceived value—but too much height can make the booth feel tight.
Aim for a balanced mix of:
Eye-level shelving
Mid-height risers
Subtle tall elements placed in corners or back areas
Hanging signage that doesn’t block sightlines
If shoppers can see deeper into the booth, they’re more likely to enter it.
5. Simplify Your Checkout Area
Your checkout should not be the first thing people see.
Instead, your checkout should:
Be placed toward the side or back
Stay clean and uncluttered
Have easy access to bags, tissue, and business cards
Be positioned so you can greet people without blocking flow
A clean checkout signals professionalism and makes transactions smoother.
6. Remove at Least 10% of Your Display Items
Every vendor adds “just one more thing”… until the booth feels crowded.
Challenge yourself to subtract instead of add. Remove:
Duplicate product styles
Props that don’t support your brand
Any display piece that takes visual space without helping sales
Your best products stand out more when there’s breathing room.
7. Test Your New Layout Before Show Day
Set up your booth at home or in your garage. Then:
Walk into it as if you’re a shopper
Ask a friend or family member to walk through it
Notice where your eye goes first
Identify crowded or confusing areas
Time how long it takes to browse everything
If it feels easy, even relaxing, your shoppers will feel the same way.
Plan Your Next Step
If you want to apply these layout tweaks to your own booth, the Craft Booth Display Planning Worksheet walks you through planning product zones, traffic flow, and display placement step by step — before you ever load the truck.
Final Thoughts
A great booth flow doesn’t happen by accident—it’s intentional. With a few thoughtful tweaks, you can make your space feel bigger, more inviting, and more profitable.
Here’s to a fresh new year of confident selling, better layouts, and more customers who walk into your booth and feel at home.
Happy Maker Monday 🌿
Connie - Artisan Kraftwerks