

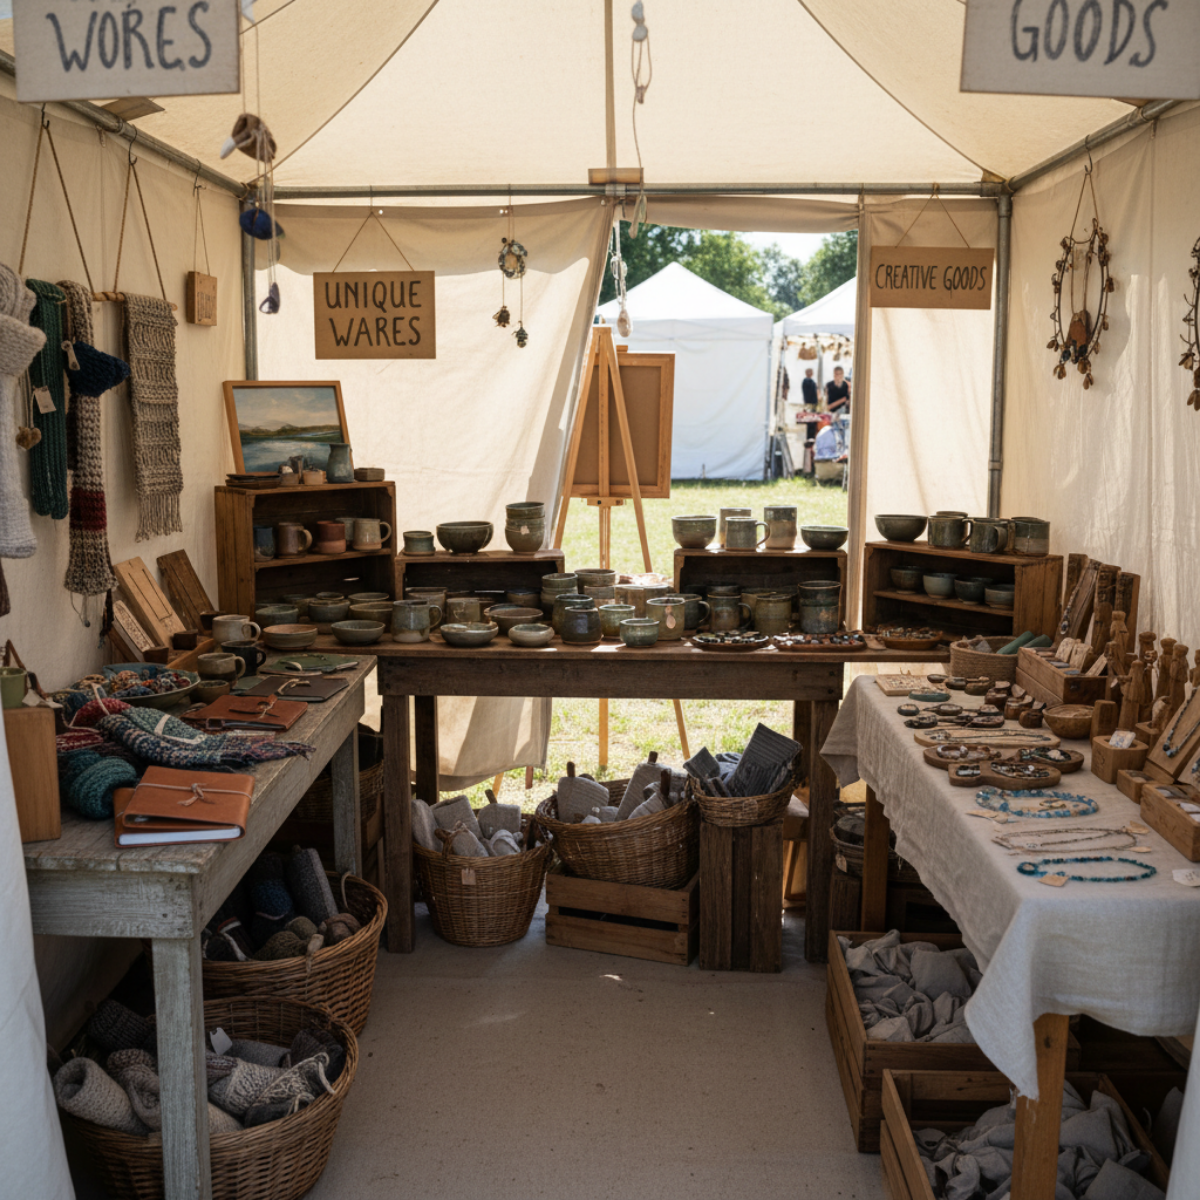
How to Plan a Craft Booth Layout (Without Overthinking It)
Planning your craft booth layout doesn’t have to feel rushed or overwhelming. This guide helps you understand how booth flow works, avoid common layout mistakes, and create a setup that feels clear, organized, and easy for shoppers to browse.
Your booth layout probably isn’t the problem you think it is.
Most of the time, it’s not about creativity, effort, or having the “right” displays.
It’s about trying to make layout decisions at the wrong time.
If setup day has ever felt rushed…
if you’ve rearranged things more than once…
or if your booth looked fine but didn’t quite work…
you’re not doing anything wrong.
You’re just making decisions under pressure.
Why Booth Layout Feels Harder Than It Should
Booth layout feels complicated because everything is happening at once.
space is limited
inventory varies
displays take up more room than expected
and there’s pressure for everything to look “right”
On top of that, it’s easy to compare your booth to polished photos online—which can make simple, functional setups feel inadequate.
Then you arrive at the event, other vendors are already unloading, and suddenly every decision feels urgent.
That’s where most of the stress comes from.
Not a lack of ability—
just a lack of structure before you arrive.
The Real Problem: Planning During Setup
One of the most common patterns is trying to design your booth while setting it up.
But setup time is:
noisy
rushed
physically demanding
It’s the worst possible moment to decide:
where tables should go
how customers will move
what deserves priority placement
So what happens?
You adjust things on the fly.
You second-guess decisions.
You end up with a booth that feels a little crowded or unclear.
Not because your ideas were wrong—
but because the timing was.
Setup time is for assembling.
Not for designing.
Start With Booth Size (Not Product Placement)
A strong booth layout always begins with the space itself.
Most events give you standard sizes like:
6×6
8×8
10×10
Once you know your dimensions, everything else becomes easier.
Your space determines:
how much walking room you have
how many tables actually fit
where displays can realistically go
If you start with products instead, it often leads to overcrowding.
When you start with space, you make clearer decisions about what belongs—and what doesn’t.
Space is the framework.
Product comes second.
Design for Flow, Not Perfection
A good booth isn’t about filling every inch.
It’s about how people move through it.
Flow is:
how shoppers enter
how they move
how they exit
When flow is clear:
people step in more easily
they stay longer
they engage more naturally
When flow is blocked:
people hesitate
they glance and move on
they don’t fully browse
Booths that feel open and navigable almost always perform better than booths packed with inventory.
Perfection isn’t the goal.
Clarity is.
Common Booth Layout Traps
Even experienced vendors run into the same patterns:
blocking the entrance with tables or tall displays
placing too much inventory at the front
using displays that visually close in the space
having no clear focal point
forgetting to plan where you will stand and move
None of these are obvious while you’re setting up.
But once you know to look for them, they’re much easier to avoid.
Why Repeatable Layouts Work Better
It’s easy to feel like you need a new layout for every show.
But repeatable layouts are what actually reduce stress.
When you use a similar structure each time:
setup becomes faster
decisions feel easier
you know what works (and what doesn’t)
Instead of starting over, you refine.
Instead of guessing, you adjust.
You don’t need a new layout.
You need a better version of the same one.
A Simple Way to Plan Ahead
One of the easiest ways to reduce decision fatigue is to sketch your booth layout before show day.
It doesn’t have to be perfect.
It just needs to exist.
Planning ahead lets you:
test arrangements without pressure
visualize spacing
make decisions while you’re calm
If you prefer something more structured, simple planning tools can make this even easier.
Turn Your Plan Into a Real Setup
Once you have a basic layout, the next step is applying it in a real booth.
Inside Artisan Kraftwerks, you’ll find tools designed specifically for this:
Craft Booth Layout & Planning Guide
Map your space and create a layout you can reuseCraft Booth Display Planning Worksheet
Decide what goes where so your booth feels balancedCraft Booth Setup & Flow Checklist
Set up faster and check flow before the show begins
👉 Explore Craft Show Booth Tools
These are designed to help you move from:
guessing → planning → repeatable setup
Keep It Simple and Refine Over Time
You don’t need a perfect booth layout.
You need a clear one.
Start with your space.
Create a simple structure.
Refine it a little each time.
That’s where confidence comes from.
Not from getting it right all at once—
but from making it easier each time you set up.
Where This Fits
If your booth feels off but you’re not sure why:
👉 Booth Clarity Reset
If you’re noticing patterns but haven’t named them yet:
👉 Maker Notes
If you’re ready to plan your booth more intentionally:
👉 Craft Booth Layout & Planning Guide
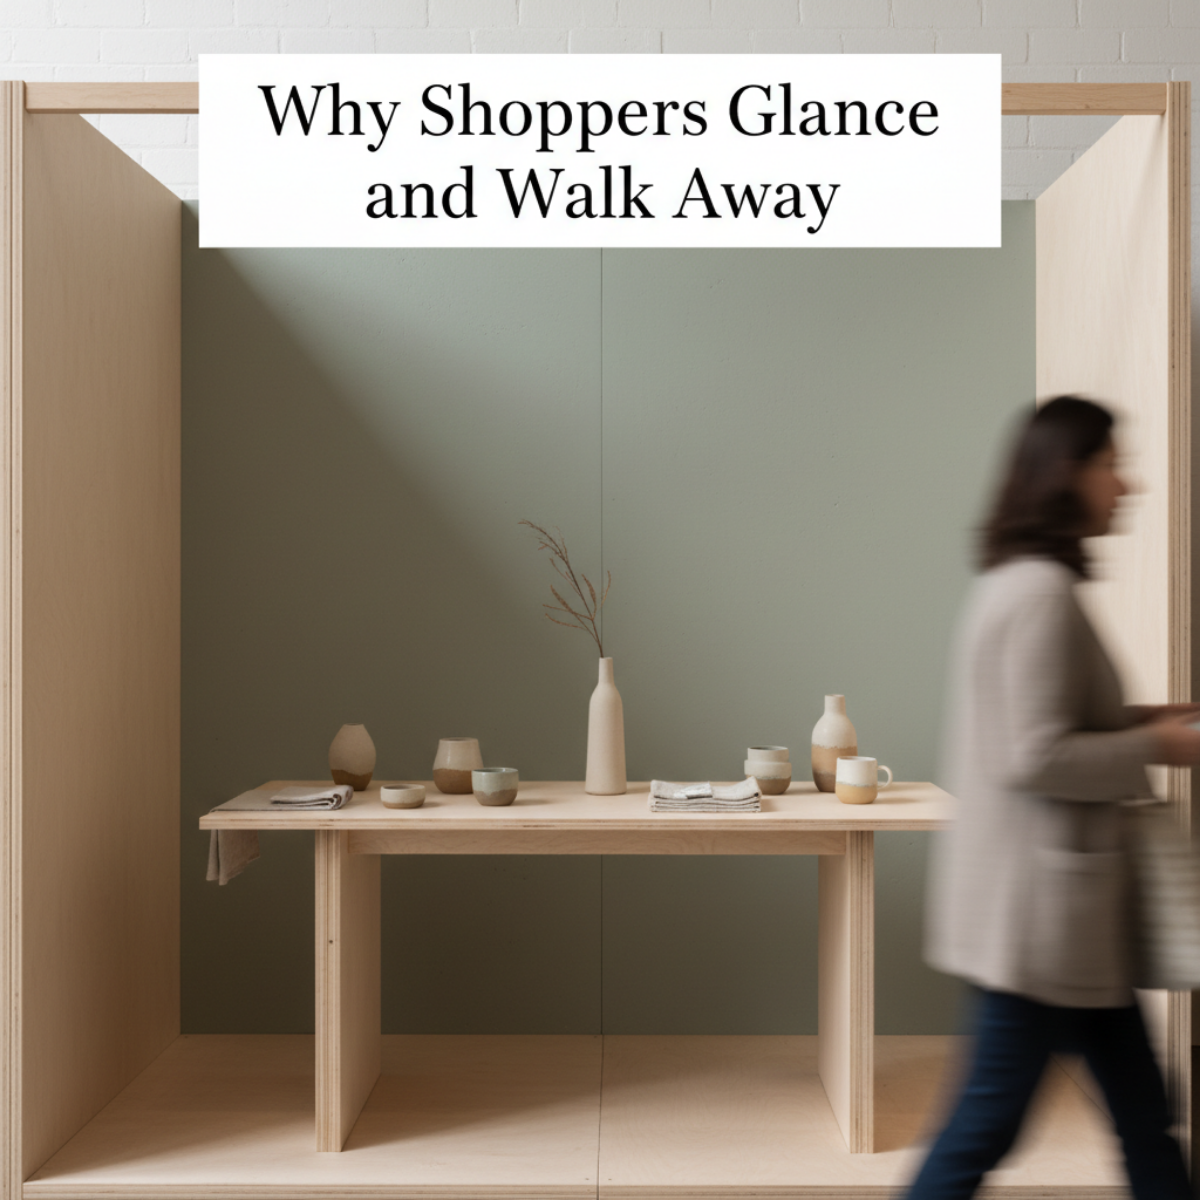
When Shoppers Glance and Walk Away
When shoppers glance and walk away,
it’s rarely rejection—it’s a lack of immediate clarity.
One of the hardest moments at a craft show isn’t slow sales.
It’s when someone looks at your booth… pauses… and keeps walking.
It’s easy to internalize that moment.
But most of the time, it isn’t rejection.
It’s speed.
It’s how quickly shoppers have to decide.
What Happens in the First 3 Seconds at a Craft Booth
Shoppers scan quickly. In just a few seconds, their brain decides:
Do I understand what this is?
Is there a clear starting point?
Does this feel inviting or overwhelming?
Is there a reason to step in instead of step past?
If that clarity isn’t immediate, they move on.
Not because your work isn’t good.
Because their brain didn’t find an easy entry point.
Before you change your inventory or pricing, pause and observe:
Where does the eye land first?
Is there a natural path through your booth?
What might feel visually crowded?
Small structural shifts often matter more than adding more product.
🔹 If you’re trying to understand why customers walk past your booth and want a clear way to adjust your setup, you can explore the Craft Booth Execution Bundle here:
[Craft Booth Execution Bundle]
It’s designed to help you show up prepared — and feel confident in the decisions you’ve already made.
Happy Maker Monday 🌿
Connie - Artisan Kraftwerks
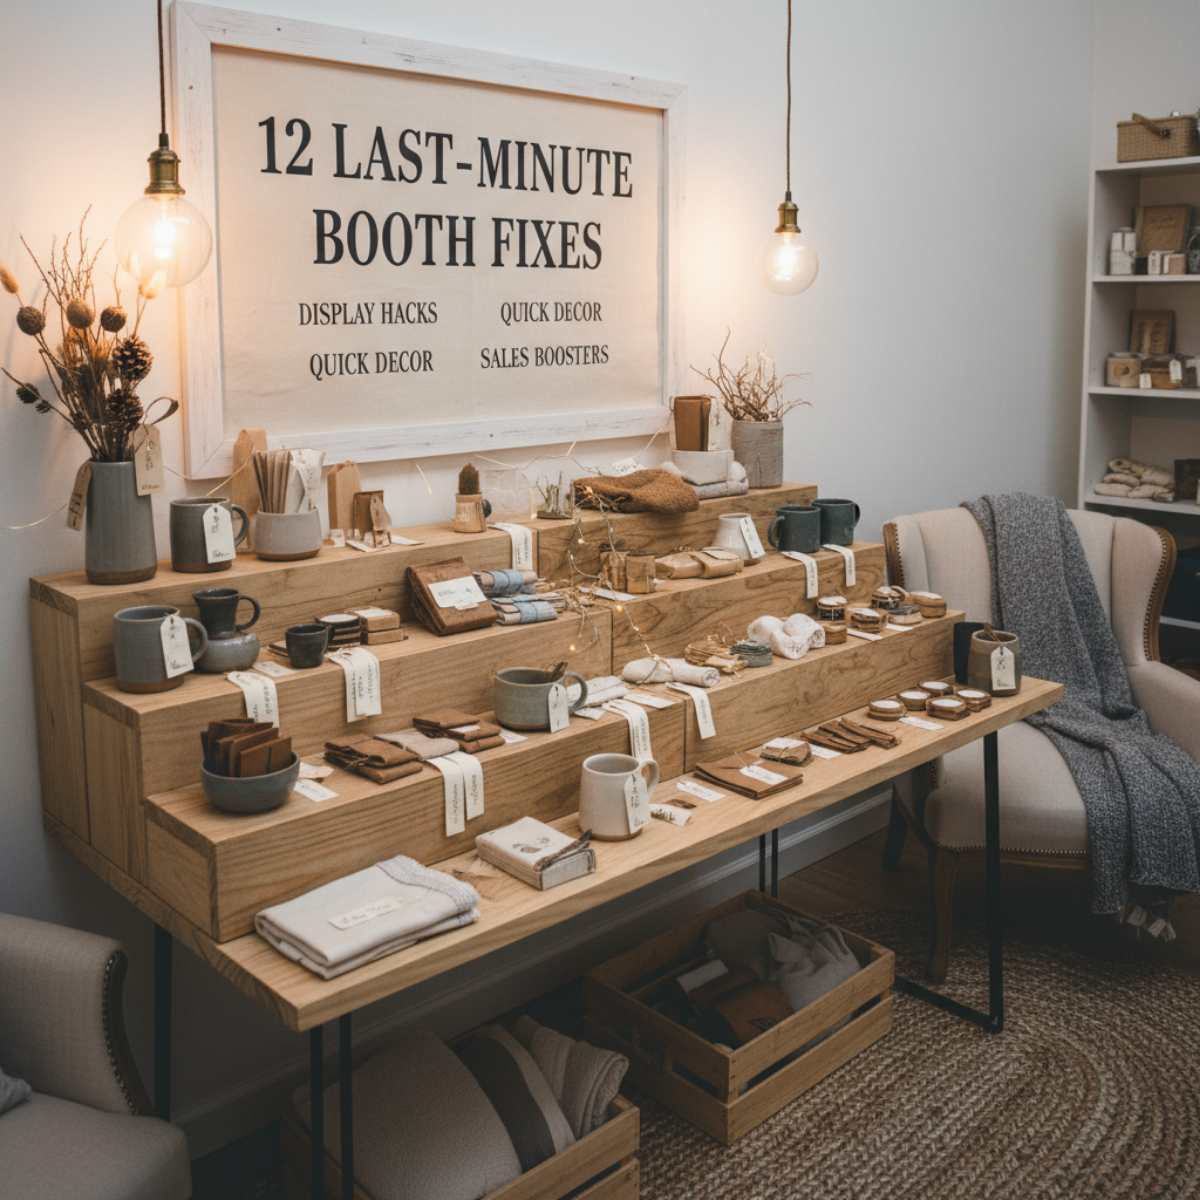
12 Last-Minute Craft Booth Fixes Every Winter Market Vendor Should Know
Small booth issues can snowball fast during busy markets.
Quick fixes can keep your setup clear, polished, and selling.
When you’re in the middle of the winter market rush, tiny problems can snowball—display gaps, low lighting, missing signage, or products that need a little extra polish.
This Maker Monday guide shares quick and effective craft booth fixes you can apply same-day to keep your setup looking sharp, intentional, and customer-ready.
Perfect for busy makers who need solutions that work fast.
The winter craft market season is busy, fast-paced, and full of surprises. Displays shift, signage falls, crowds move differently than expected, and suddenly you’re adjusting your entire booth in the middle of a live show. Every experienced maker has lived through those moments — and learned to improvise like a pro.
Today’s Maker Monday guide is all about quick, effective last-minute craft booth fixes that help you stay polished and profitable during the final stretch of the year.
1. Turn a Slow Table Into a Sales Magnet
If one of your tables isn’t getting attention, rearrange your display vertically. Shoppers are drawn to height — especially in a crowded winter market where visibility matters. A crate flipped upright or a riser added under a tablecloth can instantly transform eye level and draw foot traffic.
Quick Fix: Group bestsellers in odd-number clusters (3, 5, 7) and elevate the center item.
2. Replace Missing or Damaged Tags With a Single “All Prices Listed Here” Sign
When you’re too busy to reprint individual tags, use one clean, clear price sign per category. It saves time, reduces clutter, and makes checkout faster.
Fast Sign Formula:
Product Name → Price → Short Feature
Example:
Handcrafted Cedar Trees — $18 ea — Solid rustic cedar, perfect for winter displays.
3. Fix Low Lighting With Everyday Items
Winter markets often have dim lighting. If your booth looks shadowy, elevate battery-powered puck lights, fairy lights, or clip-on LEDs using a crate or even your tote bin (hidden under a cloth). The moment your products are well-lit, your booth feels warmer and more inviting.
4. Use a “Bundle & Save” Sign to Increase Your AOV
Bundles sell especially well in winter when customers shop for multiple recipients at once. If sales feel slow, introduce a simple bundle like:
Buy 2, Get 10% Off
Any 3 for $25
Build-Your-Own Gift Set
This is one of the fastest ways to increase sales without adding new inventory.
5. Re-Engage Shoppers With a Quick “Story Prop”
If your booth feels flat, add one prop that tells your brand’s story — a tool you use, a raw material sample, a sketch, or a behind-the-scenes photo. Winter shoppers connect emotionally with authenticity and craftsmanship.
6. Use Your Bags as Walking Advertisements
If your bags are plain, quickly attach a thank-you sticker with your social handle or website. When shoppers walk around the market, they become moving billboards.
7. If Crowds Move the Wrong Way, Flip Your Layout
Winter events often pack visitors in tight lines. If your booth experiences bottlenecks, simply rotate one table or open one side to improve flow. This one-minute change can double the number of people entering your booth.
Final Thoughts
Your booth doesn’t have to be perfect. It just needs to be clear, inviting, and optimized for the unique energy of winter shoppers. With these quick fixes, you’ll be ready for anything the season throws at you.
Happy Maker Monday 🌿
Connie - Artisan Kraftwerks