

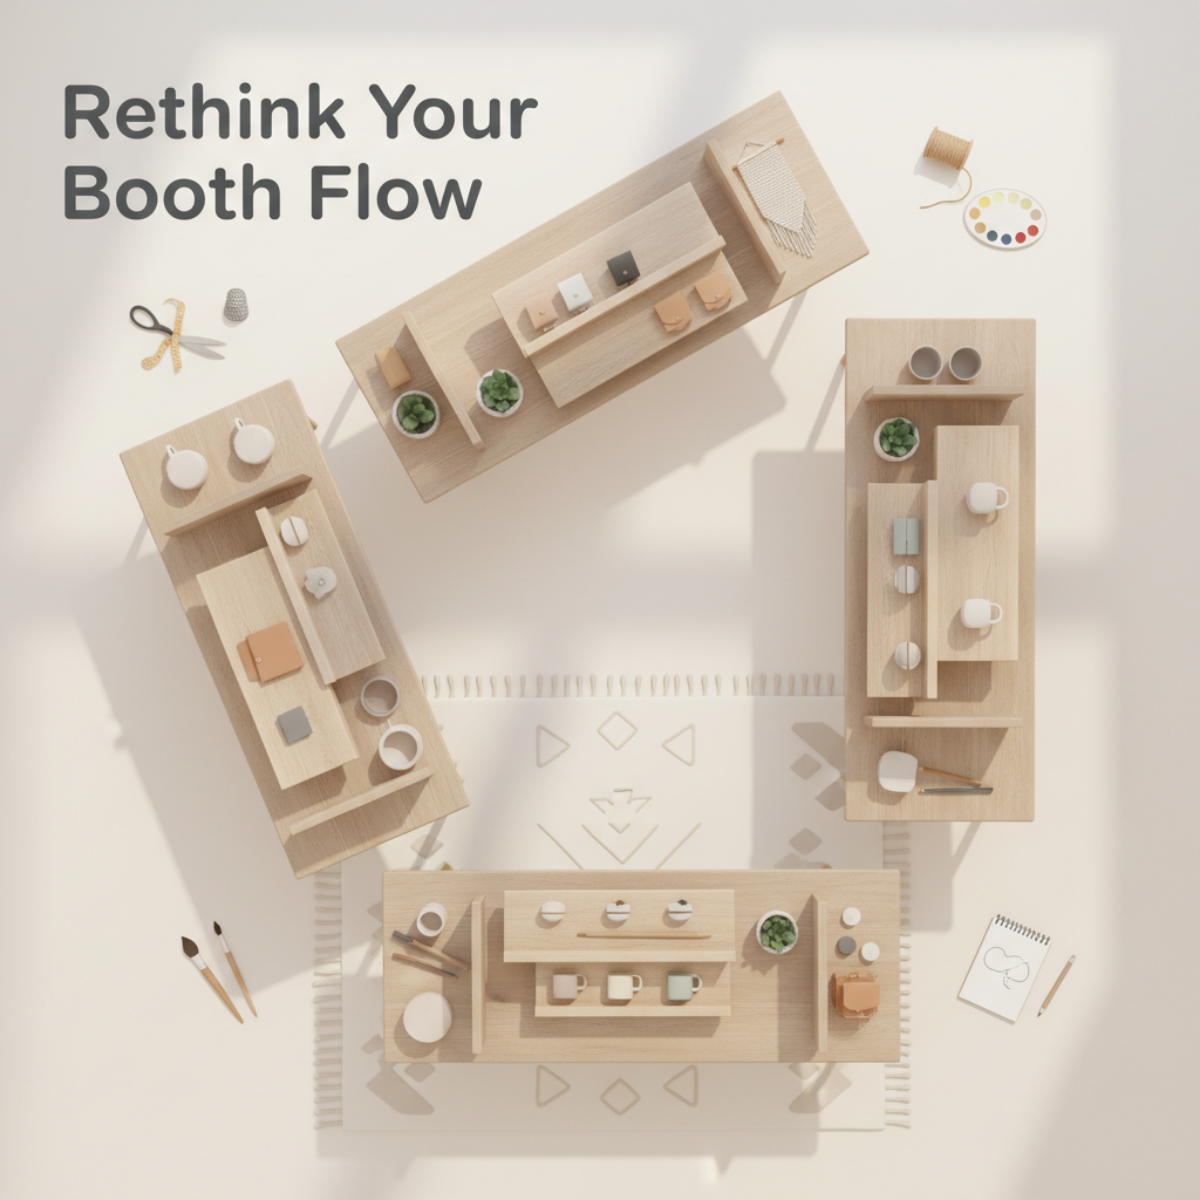
Rethink Your Booth Flow for the New Year — Layout Tweaks That Boost Browsing & Buying
Better booth flow helps shoppers stay longer, explore more, and feel comfortable enough to buy.
A new year means a fresh chance to look at your booth with new eyes. Whether you’re gearing up for early-spring markets, planning a full season of vendor events, or simply refreshing your brand presence, one of the easiest ways to increase sales is to improve your booth flow.
Booth flow is the path people take when they enter, browse, and exit your space. When the flow feels natural, shoppers stay longer, explore more, and feel comfortable enough to buy. When the flow is cramped or confusing, they move on fast.
Today’s Maker Monday is all about simple tweaks that give your display a smooth, intuitive, and shopper-friendly feel—no major overhaul required.
1. Create a Clear Entrance (Even in Small Spaces)
If shoppers can’t tell where to enter, they often won’t.
A defined entry point, even a subtle one, reduces hesitation. Try:
A slight opening between tables or racks
A small sign inviting shoppers in
A visual “pathway” created with crates, risers, or flooring mats
Angling your first display pieces inward instead of straight across
Clarity makes shoppers feel welcomed instead of unsure.
2. Avoid the “Great Wall” Display
Many vendors unintentionally place a long, straight table across the entire front of the booth. This creates a physical and psychological barrier that says, Look from afar, but don’t come in.
Instead:
Angle one or both table ends inward
Break the line with a crate stack, riser, or vertical element
Create a small curve or L-shape
Your booth should feel open—not like a counter where people must talk before they browse.
3. Use Zones to Guide Customer Movement
Zoning helps shoppers naturally move from one part of your booth to another.
You might create zones such as:
Front zone: small impulse items
Middle zone: hero products, best sellers, display stands
Back zone: premium, larger, or higher-margin items
Checkout area: located after browsing, not blocking entry
Zones should flow left to right or right to left depending on how traffic naturally moves at your typical events.
4. Add Vertical Interest (But Not Overwhelm)
Vertical displays lift products into the shopper’s line of sight and increase perceived value—but too much height can make the booth feel tight.
Aim for a balanced mix of:
Eye-level shelving
Mid-height risers
Subtle tall elements placed in corners or back areas
Hanging signage that doesn’t block sightlines
If shoppers can see deeper into the booth, they’re more likely to enter it.
5. Simplify Your Checkout Area
Your checkout should not be the first thing people see.
Instead, your checkout should:
Be placed toward the side or back
Stay clean and uncluttered
Have easy access to bags, tissue, and business cards
Be positioned so you can greet people without blocking flow
A clean checkout signals professionalism and makes transactions smoother.
6. Remove at Least 10% of Your Display Items
Every vendor adds “just one more thing”… until the booth feels crowded.
Challenge yourself to subtract instead of add. Remove:
Duplicate product styles
Props that don’t support your brand
Any display piece that takes visual space without helping sales
Your best products stand out more when there’s breathing room.
7. Test Your New Layout Before Show Day
Set up your booth at home or in your garage. Then:
Walk into it as if you’re a shopper
Ask a friend or family member to walk through it
Notice where your eye goes first
Identify crowded or confusing areas
Time how long it takes to browse everything
If it feels easy, even relaxing, your shoppers will feel the same way.
Plan Your Next Step
If you want to apply these layout tweaks to your own booth, the Craft Booth Display Planning Worksheet walks you through planning product zones, traffic flow, and display placement step by step — before you ever load the truck.
Final Thoughts
A great booth flow doesn’t happen by accident—it’s intentional. With a few thoughtful tweaks, you can make your space feel bigger, more inviting, and more profitable.
Here’s to a fresh new year of confident selling, better layouts, and more customers who walk into your booth and feel at home.
Happy Maker Monday 🌿
Connie - Artisan Kraftwerks
Turn Shoppers Into Repeat Customers — Follow-Up Systems That Keep Them Coming Back
The real value of a sale isn’t just the purchase.
It’s the customer who comes back.
You’ve built an amazing product display or craft show booth. Your products are incredible. Shoppers stopped, browsed, and maybe even bought. But here’s the truth:
The real power of a craft show or product display isn’t just the sales you make that day — it’s the customers you bring with you into the future.
Makers who consistently grow their business don’t rely only on the next event…
They build ongoing relationships with customers who already said yes once.
Today’s Maker Monday will show you how to confidently capture and nurture those leads — without feeling salesy.
Step 1: Make It Easy for Shoppers to Stay Connected
During winter markets especially, shoppers buy for others. They don’t always remember the booth or store they intended to visit later.
To stay top-of-mind, give them:
A clear QR code sign near checkout linking to:
Your website
Your email signup page
Your most active social platform
Bag inserts with a quick “Connect with us” message
Thank-you stickers including your handle
Pro Tip:
Place a QR code where they wait to check out. People love something to do in line.
Step 2: Collect Emails Like Your Business Depends on It
Because it does. 😄
Your email list:
✔ isn’t controlled by an algorithm
✔ isn’t limited to local shoppers
✔ works year-round — even between events
Try an email sign-up incentive like:
10% off their next purchase
Entry into a monthly product giveaway
Exclusive access to seasonal launches
Make it feel like a VIP club — not spam.
Step 3: Follow Up — Quickly & Personally
You want to follow up while the memory of your brand is still warm and cozy.
Use a simple 3-part post-show follow-up:
📅 24–48 hours → “Thank you for supporting handmade!”
📅 1 week later → “Here’s a perk just for you…”
📅 1 month later → “New products, next shows, behind the scenes”
Short. Friendly. Valuable.
Not a single “Hey buy from me!” required.
Step 4: Track Leads Like a Real Business Owner
A mini-CRM (Customer Relationship Manager) doesn’t have to be complicated.
Recommended maker-friendly systems:
Flodesk - Best for Email newcomers
Why? Beautiful visuals + easy automations
MailerLite - Best for Startups
Why? Robust features + inexpensive
HubSpot Free - Best for Customer tracking
Why? CRM database + great notes system
Google Sheets - Best for Simplicity lovers
Why? Quick tracking + customizable
Track key notes:
What they bought
What they loved
Any personalization preferences
Whether they subscribed or followed
Those insights guide future product decisions.
Step 5: Support Their Experience Beyond the Purchase
Follow-up success is rooted in connection, not constant selling.
Types of nurture content that convert well:
✨ Care tips for your product
✨ Styling or display ideas
✨ Seasonal craft booth sneak peeks
✨ Restock alerts and preorders
✨ Storytelling about your process
Every message says: “I see you… and I made this for you.”
That’s what builds loyalty — and repeat buyers.
Putting This Into Practice
Strong follow-up systems start with a booth layout that naturally guides shoppers where you want them to go. If you want to plan a booth that supports browsing, conversation, and easy next steps, the Craft Booth Display Planning Worksheet helps you think it through in advance.
Final Thoughts
You Earned That Customer — Keep Them
Shoppers are real humans who saw your work, felt drawn to it, and decided to bring it home.
Follow-up lets that relationship continue long after the market bags are packed away.
You create connection.
Connection brings them back.
And returning customers build sustainable maker businesses.
Happy Maker Monday 🌿
Connie - Artisan Kraftwerks
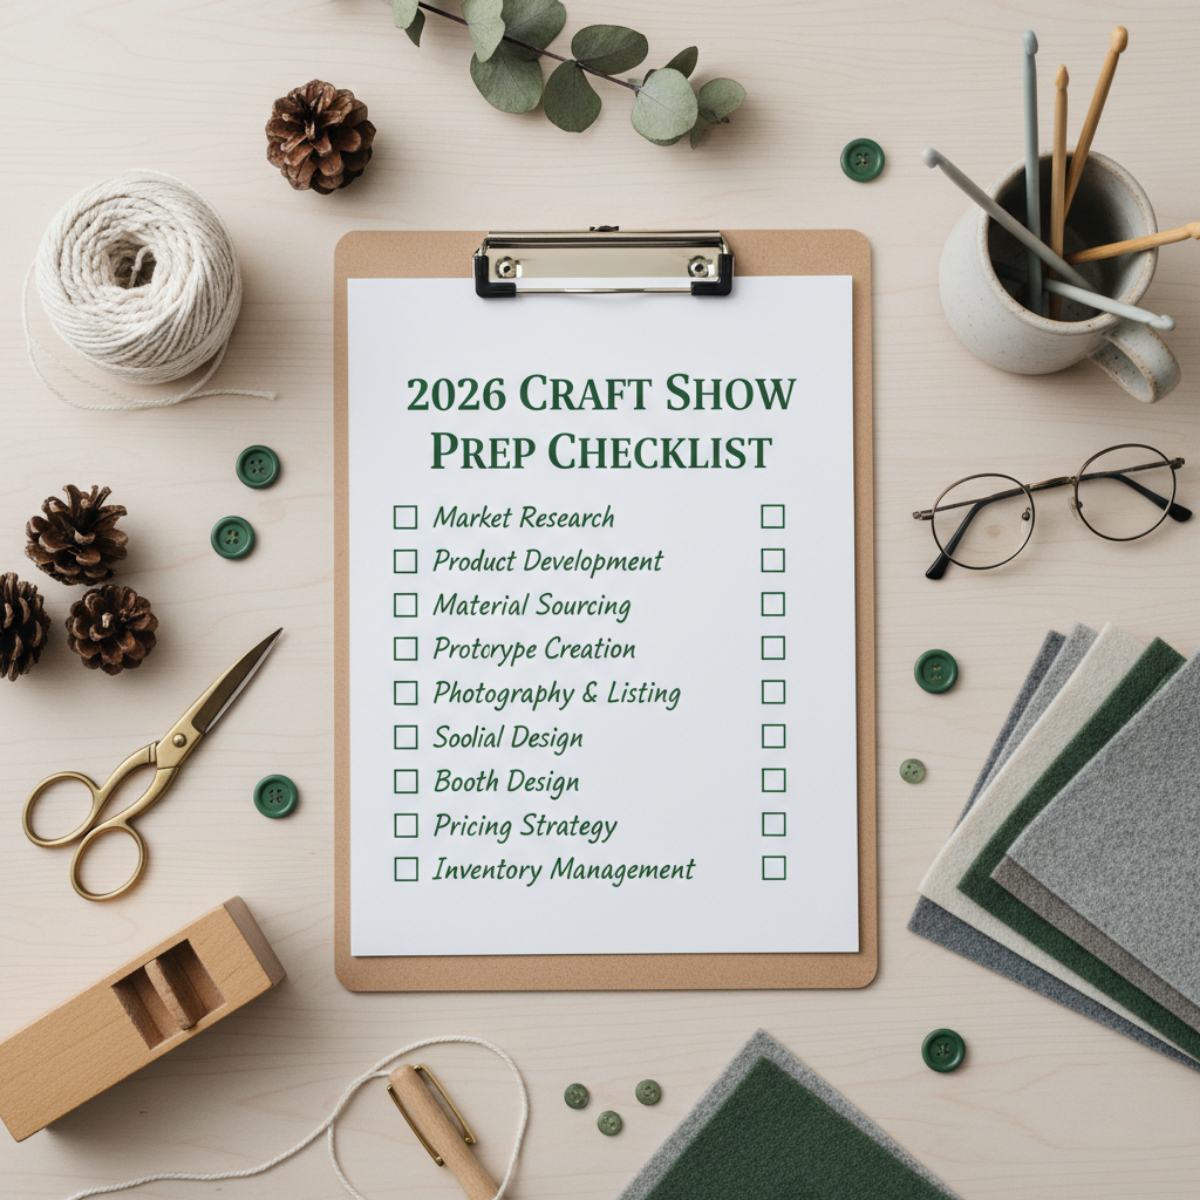
The Ultimate 2026 Craft Show Prep Checklist for Makers & Small Shop Owners
A strong craft show year starts before the first event.
Winter is where planning turns into momentum.
Your 2026 Craft Show Prep Checklist: A Maker’s Guide to Getting Ahead
A new year brings new opportunities — and the winter season is the perfect time to set up your maker business for a strong 2026 craft show lineup. While markets may slow down after the holiday rush, this is your moment to reset, refine, and plan for the year ahead.
This Maker Monday, we’re breaking down the ultimate 2026 Craft Show Prep Checklist for makers, small shop owners, and vendor booth pros.
1. Review Your 2025 Sales Data
Before planning anything new, look at last year's numbers:
What sold consistently?
What became surprise bestsellers?
What didn’t move at all?
This data tells you where to invest and where to scale back.
2. Map Out Your 2026 Event Calendar
Winter is the ideal season to:
Research new shows
Apply for spring + summer events
Join vendor Facebook groups
Mark early-bird deadlines
Budget for booth fees early
A mapped calendar removes decision fatigue later in the year.
3. Refresh Your Display for the New Year
Your booth is your storefront. Winter is the perfect time to rebuild or improve:
Vertical shelving
Lighting upgrades
Signage (especially photo-friendly signage)
New table coverings
Modular packing systems
Start fresh before the first show hits.
4. Create Your 2026 Inventory Plan
Think in categories:
Everyday sellers
Seasonal sellers
High-margin items
Small impulse buys
Custom or personalized offerings
Assign rough quantities for each and adjust as seasons change.
5. Revisit Your Pricing Strategy
Costs increased for many makers in 2025. Review:
Material costs
Packaging
Labor
Booth fees
Shipping supplies
This ensures your 2026 pricing is profitable — not guesswork.
6. Update Your Branding Pieces
Winter is a powerful reset point for small shops.
Update or refine:
Business cards
Thank-you cards
Logo stickers
Booth banner
Social templates
Product tags
Your brand should feel consistent across events, online listings, and packaging.
7. Set Up a Customer Follow-Up System
Capture leads all year, not just during shows:
QR code to an email list
Mini coupon cards
Social-follow incentives
Cross-promotion with other makers
2026 growth hinges on connection — not just sales.
8. Prep Your “Market Survival Kit”
Every seasoned vendor needs:
Extra tags
Batteries
Tape, twine, zip ties
Pens, markers
Mini toolkit
Spare point-of-sale charger
Extra tablecloth
Snacks + water
Pack it once, keep it stocked all year.
9. Set Three Big Goals for 2026
Choose goals that matter:
Revenue target
Number of events
A new product line
A booth redesign
Launching a wholesale catalog
Write them down. Review quarterly.
Next Step for Makers
Once you know what needs to be done, the next step is figuring out how your booth actually comes together on the floor. If booth layout and product placement feel overwhelming, the Craft Booth Display Planning Worksheet helps you map it out visually before setup day.
Final Thoughts
Winter is more than a slow season — it’s your foundation-building season. With intentional planning and fresh energy, your 2026 craft show year can be your strongest yet.
Happy Maker Monday 🌿
Connie - Artisan Kraftwerks
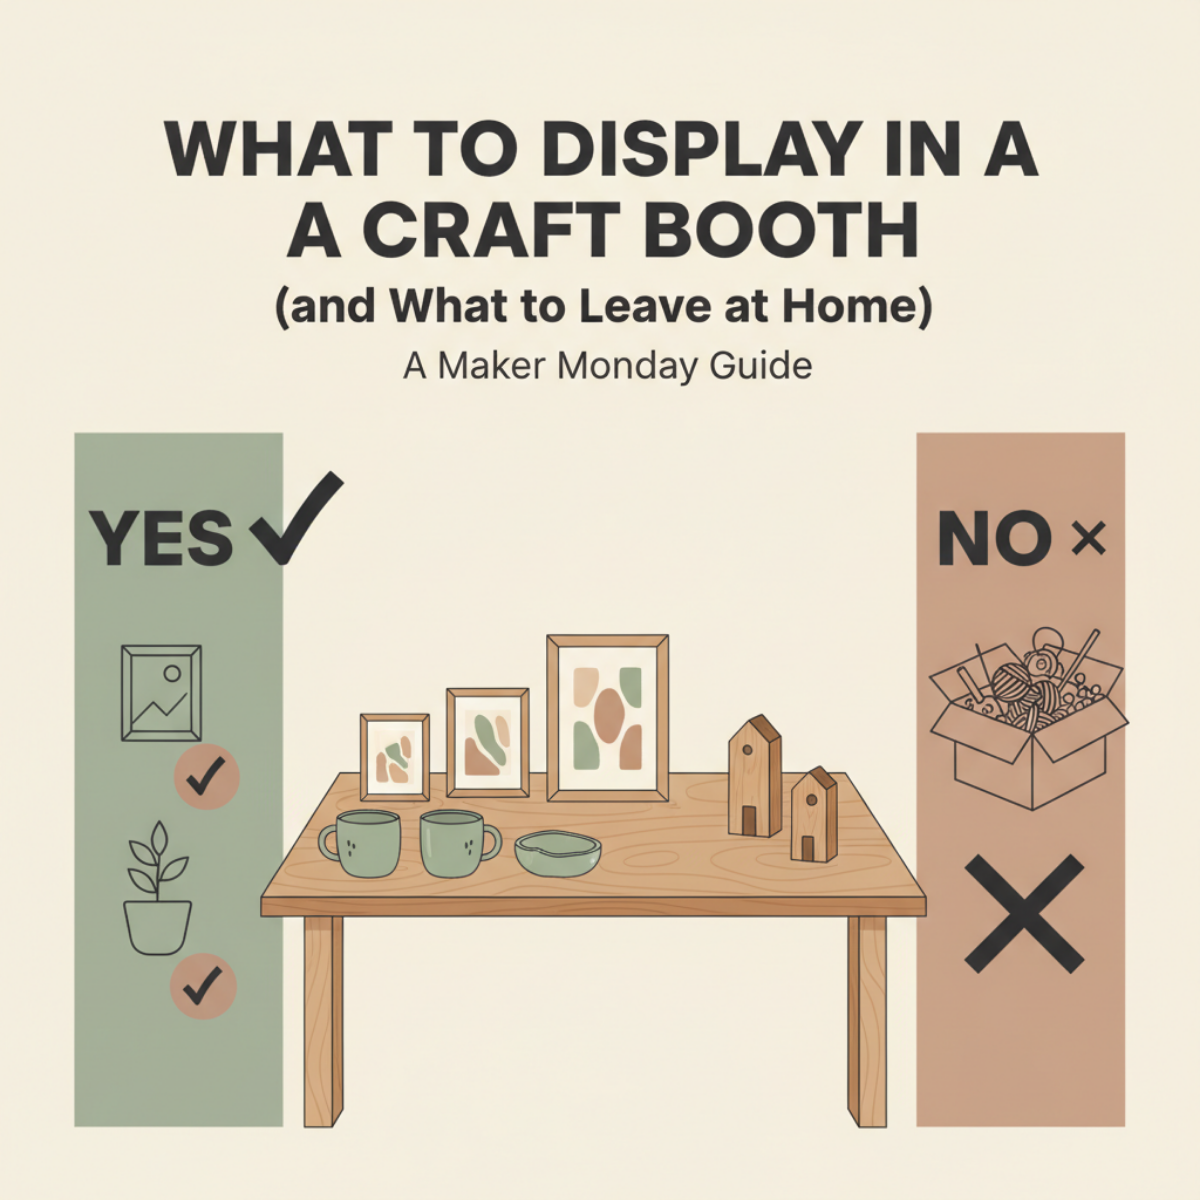
What to Display in a Craft Booth (and What to Leave at Home)
A successful booth isn’t built by showing more.
It’s built by choosing what actually earns space.
When makers think about improving craft show sales, they often jump straight to booth layout — tables, shelves, grids, signage. But long before layout comes into play, there’s a more important decision to make:
What actually deserves space in your booth?
You can have a beautifully arranged booth and still struggle to sell if what’s on display overwhelms shoppers, confuses your message, or hides your best work. Thoughtful display decisions simplify setup, improve flow, and make it easier for customers to say yes.
This guide focuses specifically on what to display in a craft booth, how to choose products that earn space, and how to avoid common display mistakes that hurt sales.
Why Display Decisions Matter More Than You Think
Craft shows are fast-moving environments. Shoppers are making decisions in seconds, often while navigating crowds, noise, and visual overload.
When a booth displays:
too many products
too many variations
or too many ideas at once
customers hesitate, browse longer without buying, or walk away entirely.
A strong craft booth display isn’t about showing everything you make. It’s about editing intentionally so your best work is easy to see, understand, and purchase.
How Shoppers Read a Craft Booth
Most shoppers scan booths quickly before deciding whether to stop. Clear focal points, visual breathing room, and an easy-to-understand product mix help shoppers process what you sell without effort. When your display is clear, shoppers feel more confident — and confidence leads to purchases.
The Four Categories Every Craft Booth Needs
When deciding what to display in a craft booth, most successful sellers rely on a small number of intentional display categories rather than bringing everything they make.
1. Hero Products
Hero products are the stars of your booth.
They are:
your best sellers
visually strong from a distance
easy to understand without explanation
These items should be the first thing a shopper notices when approaching your booth. If someone only looks at one product, it should be one of these.
Ask yourself:
Which products consistently sell well?
Which items photograph clearly and catch attention?
Which pieces best represent my brand?
Those products earn the most visible space.
2. Supporting Products
Supporting products complement your hero products.
They often include:
variations in size, color, or style
coordinating or related items
slightly lower-priced alternatives
Supporting products give shoppers options without overwhelming them. Their job is to make hero products easier to buy — not harder to choose.
3. Anchor Pieces
Anchor pieces act as visual magnets.
They may not be your top sellers, but they:
draw people into your booth
create visual interest
help establish your style or scale
Anchor pieces are often larger, bolder, or more visually distinct. Their primary role is to stop foot traffic and invite browsing.
4. Utility and Add-On Items
These are your easy “yes” items.
Utility and add-on items are often:
smaller
lower-priced
quick decisions
Placed near checkout or alongside hero products, they increase average order value without requiring extra explanation. A small, well-curated selection works far better than a cluttered display.
How to Choose What Earns Booth Space
Once you understand the display categories, choosing what to sell at craft shows becomes much easier.
Criteria for Choosing What to Sell at Craft Shows
When evaluating products, consider:
Sales history: Has it sold consistently in the past?
Visual clarity: Can someone understand it in under five seconds?
Price balance: Does it fit your overall price range?
Setup effort: Does it require explanation or demonstration?
Restock ease: Can you replenish it during the show if needed?
If a product struggles in several of these areas, it may not deserve prime booth space — even if you love it.
What to Leave at Home (Common Craft Booth Display Mistakes)
Editing your display is often the hardest part of booth planning — but it’s also where sales improve fastest.
Consider leaving behind:
products that rarely sell but “feel important”
items that require long explanations
too many color or style variations
pieces that disrupt visual flow
untested experiments
Craft shows are not the place to showcase everything you’ve ever made. They reward clarity, focus, and confident selection.
You can always rotate products between shows. Leaving something out isn’t failure — it’s strategy.
How Display Decisions Connect to Booth Layout
Once you’ve decided what to display, booth layout planning becomes much easier.
A strong layout:
highlights hero products
creates space for anchor pieces
guides shoppers naturally through supporting items
That’s why display decisions should happen before you start setting up tables and shelves.
If you haven’t yet, you may want to read:
→ How to Plan a Craft Booth Layout (Without Overthinking It)
Display planning and layout planning work best together — each supports the other.
Frequently Asked Questions About Craft Booth Displays
How many products should I display in a craft booth?
Most booths perform better with a curated selection rather than a full inventory. The ideal number depends on booth size and product type, but fewer well-displayed items usually lead to clearer buying decisions and stronger sales.
Should I bring all my products to a craft show?
Not necessarily. Craft shows reward focus and clarity. Bringing only products that sell well, display cleanly, and support your booth layout often leads to better results than trying to show everything you make.
Final Thoughts
Successful craft booths aren’t built by bringing more — they’re built by choosing better.
When you’re intentional about what earns space in your booth, you:
reduce setup stress
improve shopper confidence
make sales easier
enjoy shows more
Planning your display ahead of time allows you to show up calm, prepared, and focused on what matters most: connecting with customers and selling your work.
Optional next steps
Happy Maker Monday 🌿
Connie - Artisan Kraftwerks
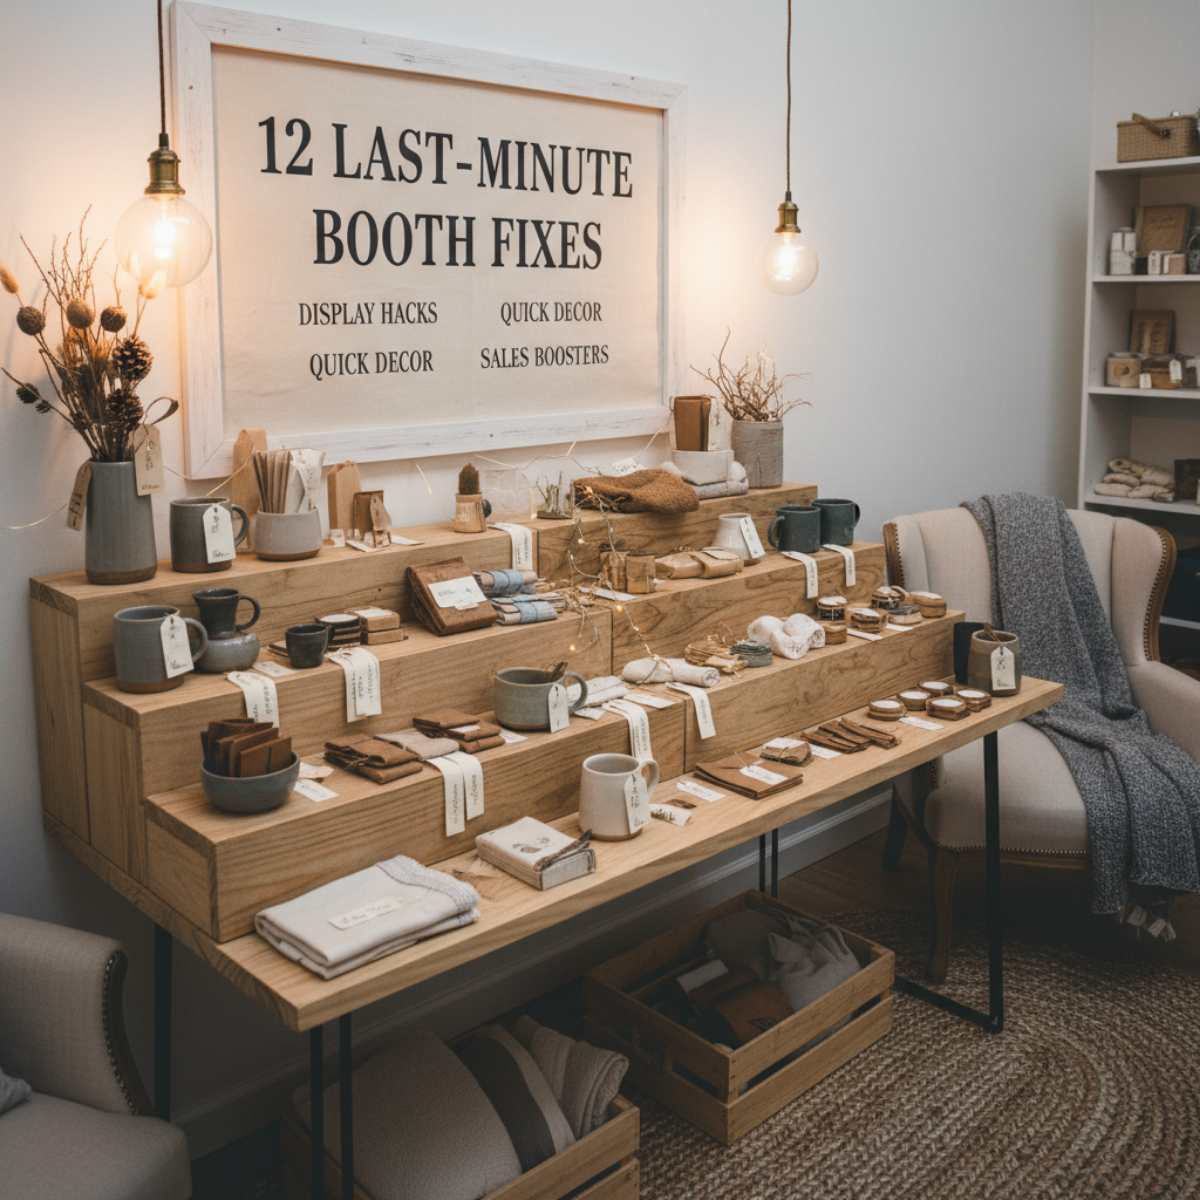
12 Last-Minute Craft Booth Fixes Every Winter Market Vendor Should Know
Small booth issues can snowball fast during busy markets.
Quick fixes can keep your setup clear, polished, and selling.
When you’re in the middle of the winter market rush, tiny problems can snowball—display gaps, low lighting, missing signage, or products that need a little extra polish.
This Maker Monday guide shares quick and effective craft booth fixes you can apply same-day to keep your setup looking sharp, intentional, and customer-ready.
Perfect for busy makers who need solutions that work fast.
The winter craft market season is busy, fast-paced, and full of surprises. Displays shift, signage falls, crowds move differently than expected, and suddenly you’re adjusting your entire booth in the middle of a live show. Every experienced maker has lived through those moments — and learned to improvise like a pro.
Today’s Maker Monday guide is all about quick, effective last-minute craft booth fixes that help you stay polished and profitable during the final stretch of the year.
1. Turn a Slow Table Into a Sales Magnet
If one of your tables isn’t getting attention, rearrange your display vertically. Shoppers are drawn to height — especially in a crowded winter market where visibility matters. A crate flipped upright or a riser added under a tablecloth can instantly transform eye level and draw foot traffic.
Quick Fix: Group bestsellers in odd-number clusters (3, 5, 7) and elevate the center item.
2. Replace Missing or Damaged Tags With a Single “All Prices Listed Here” Sign
When you’re too busy to reprint individual tags, use one clean, clear price sign per category. It saves time, reduces clutter, and makes checkout faster.
Fast Sign Formula:
Product Name → Price → Short Feature
Example:
Handcrafted Cedar Trees — $18 ea — Solid rustic cedar, perfect for winter displays.
3. Fix Low Lighting With Everyday Items
Winter markets often have dim lighting. If your booth looks shadowy, elevate battery-powered puck lights, fairy lights, or clip-on LEDs using a crate or even your tote bin (hidden under a cloth). The moment your products are well-lit, your booth feels warmer and more inviting.
4. Use a “Bundle & Save” Sign to Increase Your AOV
Bundles sell especially well in winter when customers shop for multiple recipients at once. If sales feel slow, introduce a simple bundle like:
Buy 2, Get 10% Off
Any 3 for $25
Build-Your-Own Gift Set
This is one of the fastest ways to increase sales without adding new inventory.
5. Re-Engage Shoppers With a Quick “Story Prop”
If your booth feels flat, add one prop that tells your brand’s story — a tool you use, a raw material sample, a sketch, or a behind-the-scenes photo. Winter shoppers connect emotionally with authenticity and craftsmanship.
6. Use Your Bags as Walking Advertisements
If your bags are plain, quickly attach a thank-you sticker with your social handle or website. When shoppers walk around the market, they become moving billboards.
7. If Crowds Move the Wrong Way, Flip Your Layout
Winter events often pack visitors in tight lines. If your booth experiences bottlenecks, simply rotate one table or open one side to improve flow. This one-minute change can double the number of people entering your booth.
Final Thoughts
Your booth doesn’t have to be perfect. It just needs to be clear, inviting, and optimized for the unique energy of winter shoppers. With these quick fixes, you’ll be ready for anything the season throws at you.
Happy Maker Monday 🌿
Connie - Artisan Kraftwerks