

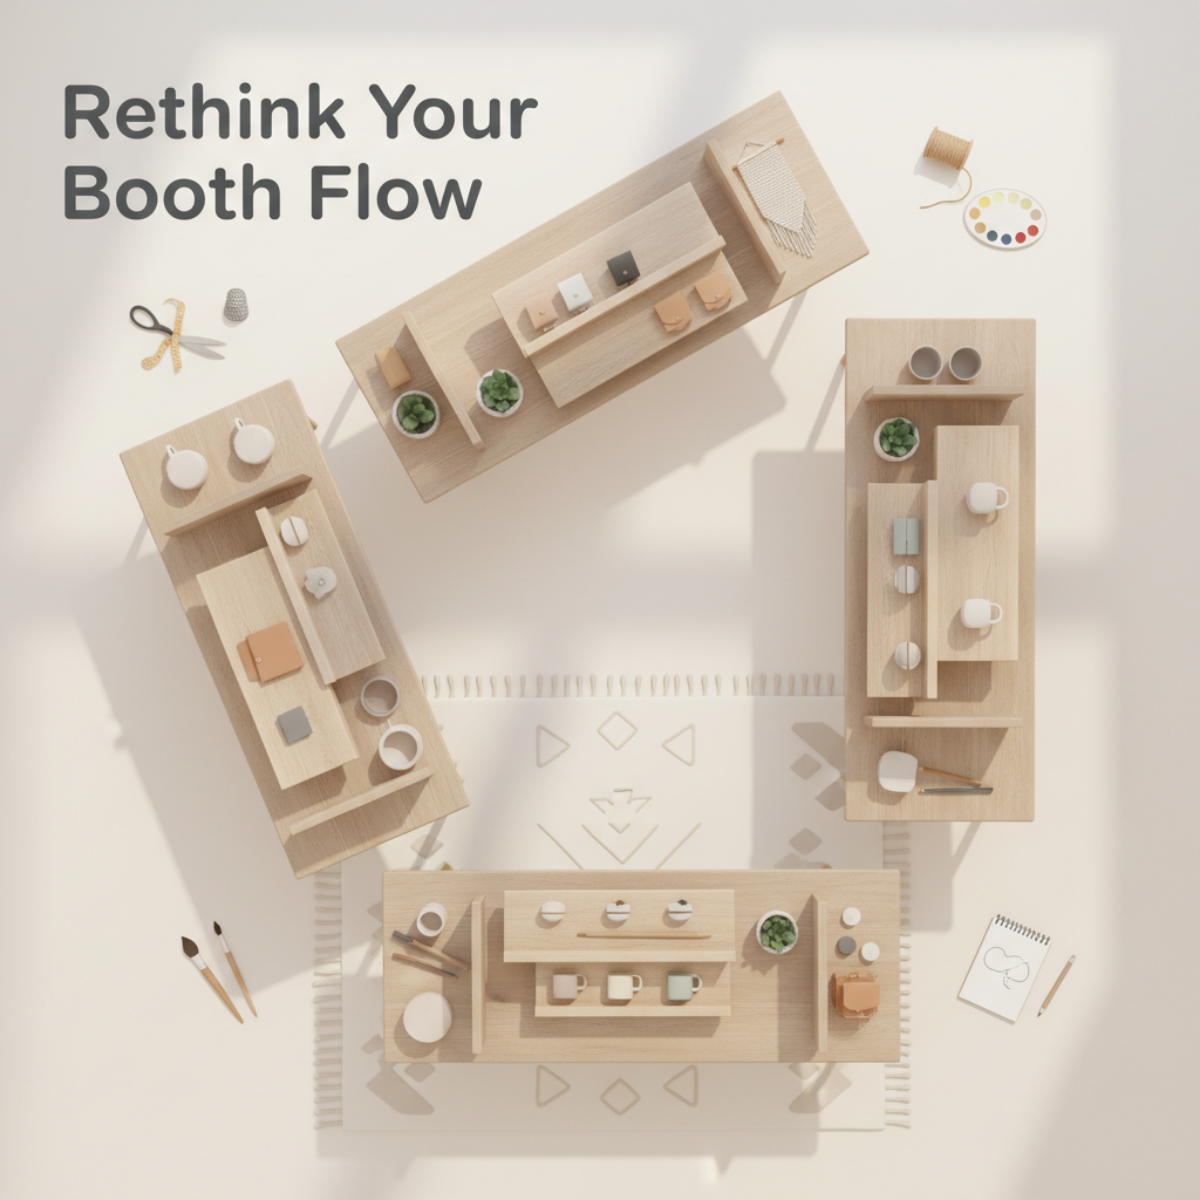
Rethink Your Booth Flow for the New Year — Layout Tweaks That Boost Browsing & Buying
Better booth flow helps shoppers stay longer, explore more, and feel comfortable enough to buy.
A new year means a fresh chance to look at your booth with new eyes. Whether you’re gearing up for early-spring markets, planning a full season of vendor events, or simply refreshing your brand presence, one of the easiest ways to increase sales is to improve your booth flow.
Booth flow is the path people take when they enter, browse, and exit your space. When the flow feels natural, shoppers stay longer, explore more, and feel comfortable enough to buy. When the flow is cramped or confusing, they move on fast.
Today’s Maker Monday is all about simple tweaks that give your display a smooth, intuitive, and shopper-friendly feel—no major overhaul required.
1. Create a Clear Entrance (Even in Small Spaces)
If shoppers can’t tell where to enter, they often won’t.
A defined entry point, even a subtle one, reduces hesitation. Try:
A slight opening between tables or racks
A small sign inviting shoppers in
A visual “pathway” created with crates, risers, or flooring mats
Angling your first display pieces inward instead of straight across
Clarity makes shoppers feel welcomed instead of unsure.
2. Avoid the “Great Wall” Display
Many vendors unintentionally place a long, straight table across the entire front of the booth. This creates a physical and psychological barrier that says, Look from afar, but don’t come in.
Instead:
Angle one or both table ends inward
Break the line with a crate stack, riser, or vertical element
Create a small curve or L-shape
Your booth should feel open—not like a counter where people must talk before they browse.
3. Use Zones to Guide Customer Movement
Zoning helps shoppers naturally move from one part of your booth to another.
You might create zones such as:
Front zone: small impulse items
Middle zone: hero products, best sellers, display stands
Back zone: premium, larger, or higher-margin items
Checkout area: located after browsing, not blocking entry
Zones should flow left to right or right to left depending on how traffic naturally moves at your typical events.
4. Add Vertical Interest (But Not Overwhelm)
Vertical displays lift products into the shopper’s line of sight and increase perceived value—but too much height can make the booth feel tight.
Aim for a balanced mix of:
Eye-level shelving
Mid-height risers
Subtle tall elements placed in corners or back areas
Hanging signage that doesn’t block sightlines
If shoppers can see deeper into the booth, they’re more likely to enter it.
5. Simplify Your Checkout Area
Your checkout should not be the first thing people see.
Instead, your checkout should:
Be placed toward the side or back
Stay clean and uncluttered
Have easy access to bags, tissue, and business cards
Be positioned so you can greet people without blocking flow
A clean checkout signals professionalism and makes transactions smoother.
6. Remove at Least 10% of Your Display Items
Every vendor adds “just one more thing”… until the booth feels crowded.
Challenge yourself to subtract instead of add. Remove:
Duplicate product styles
Props that don’t support your brand
Any display piece that takes visual space without helping sales
Your best products stand out more when there’s breathing room.
7. Test Your New Layout Before Show Day
Set up your booth at home or in your garage. Then:
Walk into it as if you’re a shopper
Ask a friend or family member to walk through it
Notice where your eye goes first
Identify crowded or confusing areas
Time how long it takes to browse everything
If it feels easy, even relaxing, your shoppers will feel the same way.
Plan Your Next Step
If you want to apply these layout tweaks to your own booth, the Craft Booth Display Planning Worksheet walks you through planning product zones, traffic flow, and display placement step by step — before you ever load the truck.
Final Thoughts
A great booth flow doesn’t happen by accident—it’s intentional. With a few thoughtful tweaks, you can make your space feel bigger, more inviting, and more profitable.
Here’s to a fresh new year of confident selling, better layouts, and more customers who walk into your booth and feel at home.
Happy Maker Monday 🌿
Connie - Artisan Kraftwerks
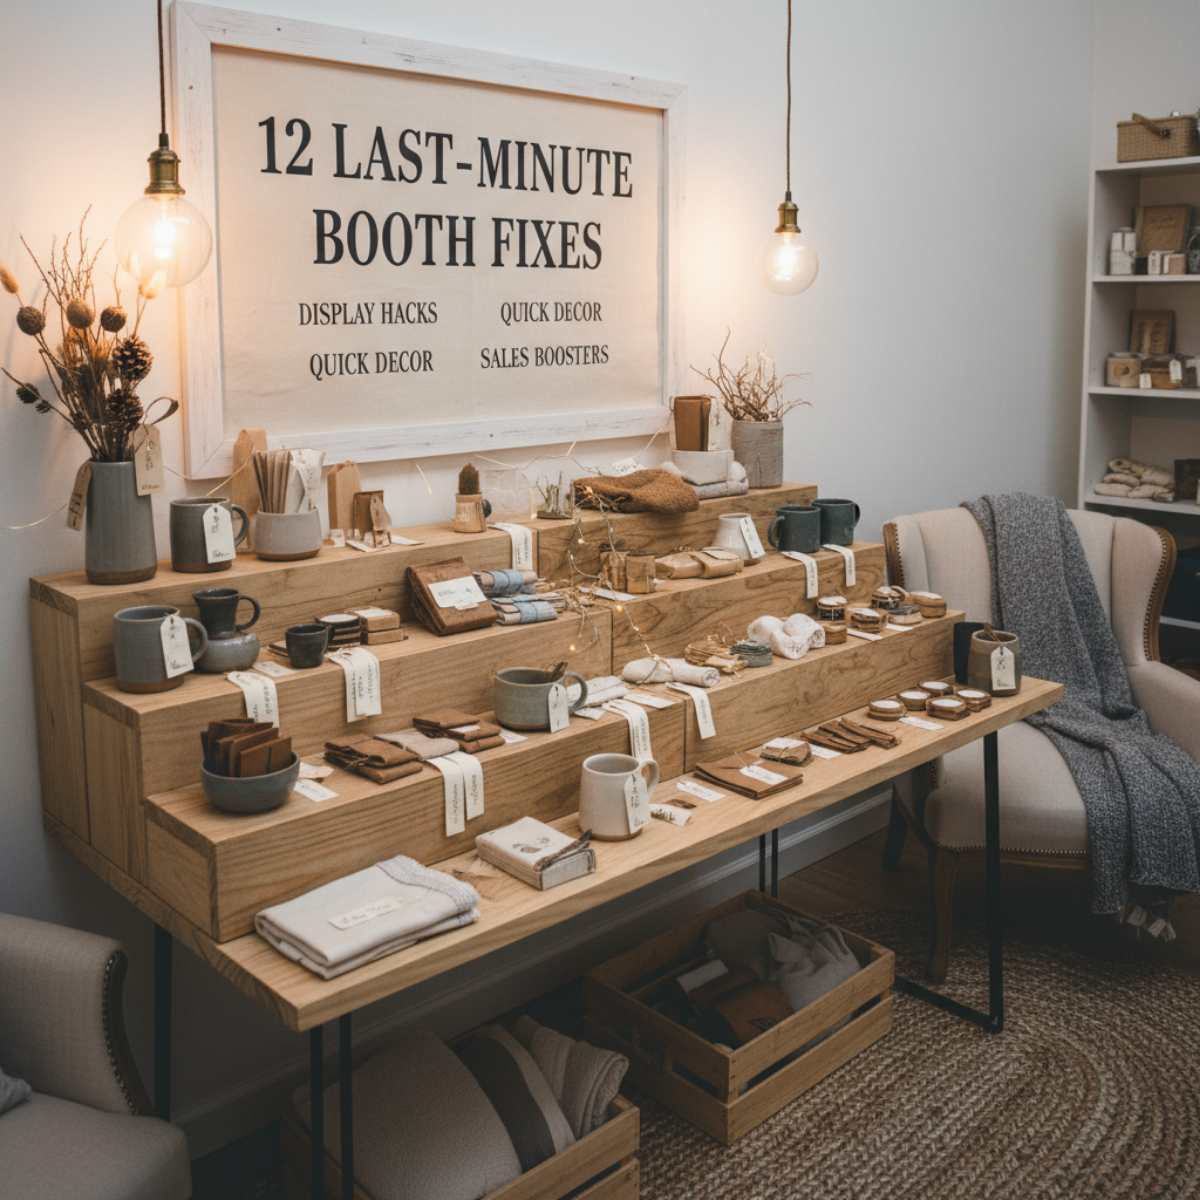
12 Last-Minute Craft Booth Fixes Every Winter Market Vendor Should Know
Small booth issues can snowball fast during busy markets.
Quick fixes can keep your setup clear, polished, and selling.
When you’re in the middle of the winter market rush, tiny problems can snowball—display gaps, low lighting, missing signage, or products that need a little extra polish.
This Maker Monday guide shares quick and effective craft booth fixes you can apply same-day to keep your setup looking sharp, intentional, and customer-ready.
Perfect for busy makers who need solutions that work fast.
The winter craft market season is busy, fast-paced, and full of surprises. Displays shift, signage falls, crowds move differently than expected, and suddenly you’re adjusting your entire booth in the middle of a live show. Every experienced maker has lived through those moments — and learned to improvise like a pro.
Today’s Maker Monday guide is all about quick, effective last-minute craft booth fixes that help you stay polished and profitable during the final stretch of the year.
1. Turn a Slow Table Into a Sales Magnet
If one of your tables isn’t getting attention, rearrange your display vertically. Shoppers are drawn to height — especially in a crowded winter market where visibility matters. A crate flipped upright or a riser added under a tablecloth can instantly transform eye level and draw foot traffic.
Quick Fix: Group bestsellers in odd-number clusters (3, 5, 7) and elevate the center item.
2. Replace Missing or Damaged Tags With a Single “All Prices Listed Here” Sign
When you’re too busy to reprint individual tags, use one clean, clear price sign per category. It saves time, reduces clutter, and makes checkout faster.
Fast Sign Formula:
Product Name → Price → Short Feature
Example:
Handcrafted Cedar Trees — $18 ea — Solid rustic cedar, perfect for winter displays.
3. Fix Low Lighting With Everyday Items
Winter markets often have dim lighting. If your booth looks shadowy, elevate battery-powered puck lights, fairy lights, or clip-on LEDs using a crate or even your tote bin (hidden under a cloth). The moment your products are well-lit, your booth feels warmer and more inviting.
4. Use a “Bundle & Save” Sign to Increase Your AOV
Bundles sell especially well in winter when customers shop for multiple recipients at once. If sales feel slow, introduce a simple bundle like:
Buy 2, Get 10% Off
Any 3 for $25
Build-Your-Own Gift Set
This is one of the fastest ways to increase sales without adding new inventory.
5. Re-Engage Shoppers With a Quick “Story Prop”
If your booth feels flat, add one prop that tells your brand’s story — a tool you use, a raw material sample, a sketch, or a behind-the-scenes photo. Winter shoppers connect emotionally with authenticity and craftsmanship.
6. Use Your Bags as Walking Advertisements
If your bags are plain, quickly attach a thank-you sticker with your social handle or website. When shoppers walk around the market, they become moving billboards.
7. If Crowds Move the Wrong Way, Flip Your Layout
Winter events often pack visitors in tight lines. If your booth experiences bottlenecks, simply rotate one table or open one side to improve flow. This one-minute change can double the number of people entering your booth.
Final Thoughts
Your booth doesn’t have to be perfect. It just needs to be clear, inviting, and optimized for the unique energy of winter shoppers. With these quick fixes, you’ll be ready for anything the season throws at you.
Happy Maker Monday 🌿
Connie - Artisan Kraftwerks

How to Display Products Like a Pro: 6 Common Mistakes (and Easy Fixes) for Craft Shows, Pop-Ups & Retail Shops
Your display isn’t just setup.
It’s your silent salesperson—and small changes can make a big difference.
Why Display Matters for Small Businesses
Whether you’re a craft show vendor, boutique owner, or handmade maker, the way you present your products can make or break a sale. Your display is more than just a setup — it’s your silent salesperson. A well-arranged booth or shelf draws people in, tells your brand story, and encourages customers to linger (and buy!).
Mistake #1: The “Flat Table” Layout
Problem: Everything’s lying flat, forcing customers to lean in and scan through a sea of items.
Fix: Use tiered shelves, wooden crates, or risers to add height and dimension. Your goal is to bring products to eye level and create visual interest.
Mistake #2: Overcrowding Your Space
Problem: Too much stuff crammed together overwhelms the eye.
Fix: Give products breathing room. Space communicates quality and makes it easier for shoppers to focus on each item.
Mistake #3: No Clear Signage
Problem: No prices or product details leaves customers unsure (and less likely to ask).
Fix: Add attractive, branded signage with prices, short descriptions, and your logo. Chalkboards, acrylic stands, and printed tags all work beautifully.
Mistake #4: Poor Lighting
Problem: Dim lighting hides product details and colors.
Fix: Use portable LED spotlights or clip-on lights with a warm glow. Proper lighting can instantly make your booth or shop display look more professional.
Mistake #5: No Brand Personality
Problem: A generic display blends in with everyone else.
Fix: Add brand colors, textures, and props that reflect your business. If your brand is rustic, use reclaimed wood and natural fabrics. If it’s modern, go with clean lines and sleek signage.
Mistake #6: Forgetting Customer Flow
Problem: Customers can’t easily navigate your space.
Fix: Arrange products so there’s a clear path to browse. Place best sellers at eye level and near the front, with smaller or add-on items toward checkout.
Final Tip for Makers & Small Shop Owners
Your display is part of your marketing. Treat it like a visual invitation to connect with your products and your story. Invest a little time in presentation, and you’ll see it pay off in more sales and happier customers.
Happy Maker Monday 🌿
Connie - Artisan Kraftwerks